How to Activate New Gateways
The gateway has to be activated first before any other devices can be activated. Follow the steps below.
Important: Once you plug a Gateway into Power you need to complete the activation steps below prior to provisioning other devices. If that's not possible, please unplug the Gateway until you're ready to complete the Gateway activation.
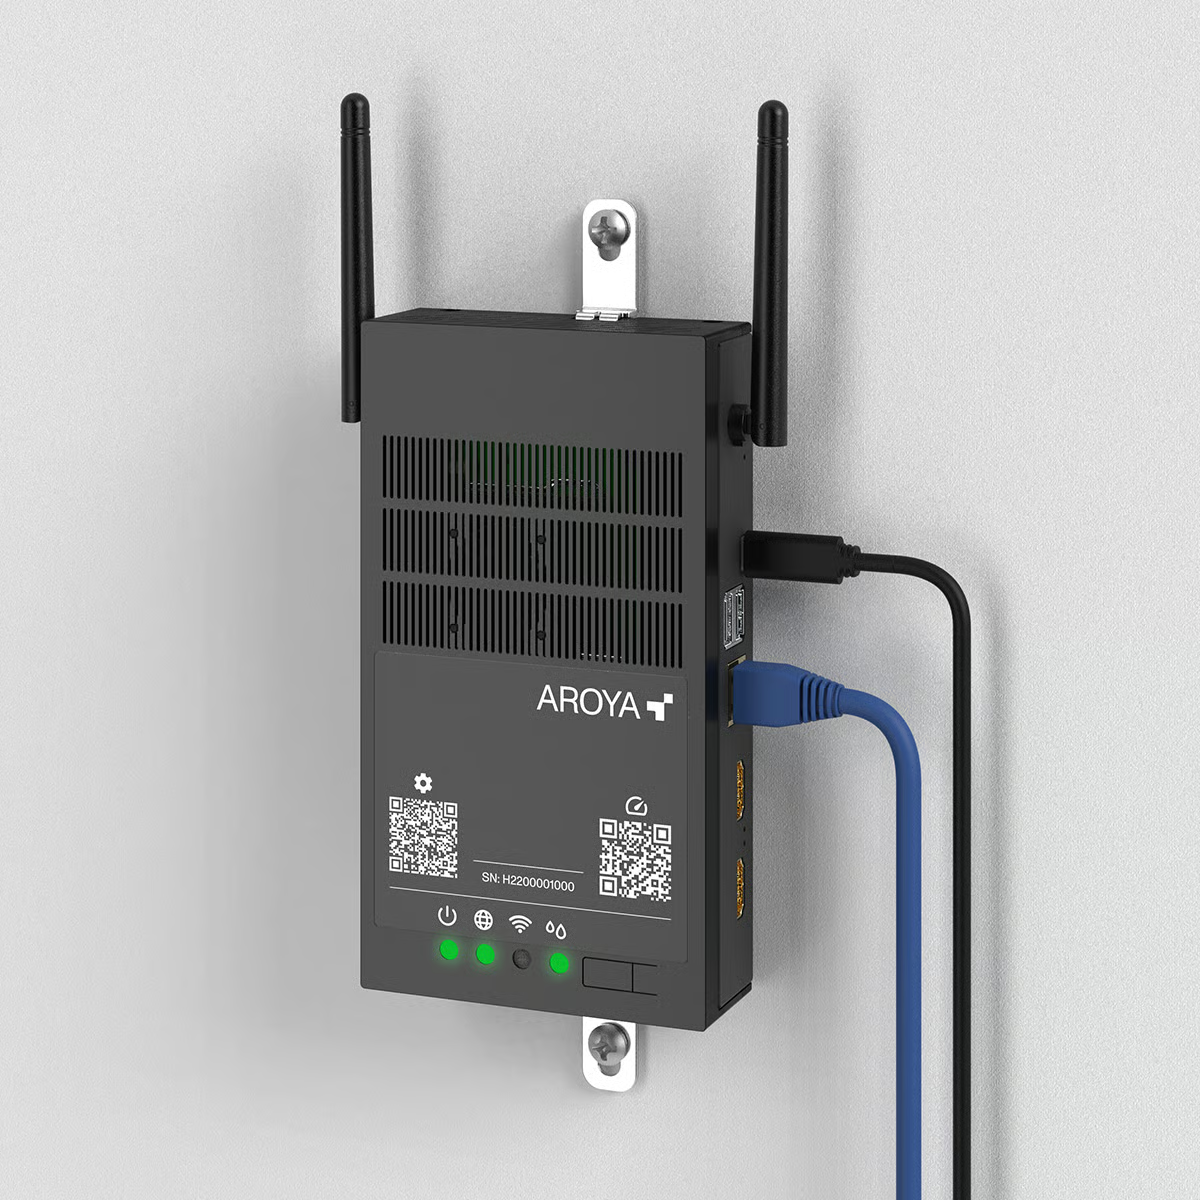
Connect Gateway to power and internet
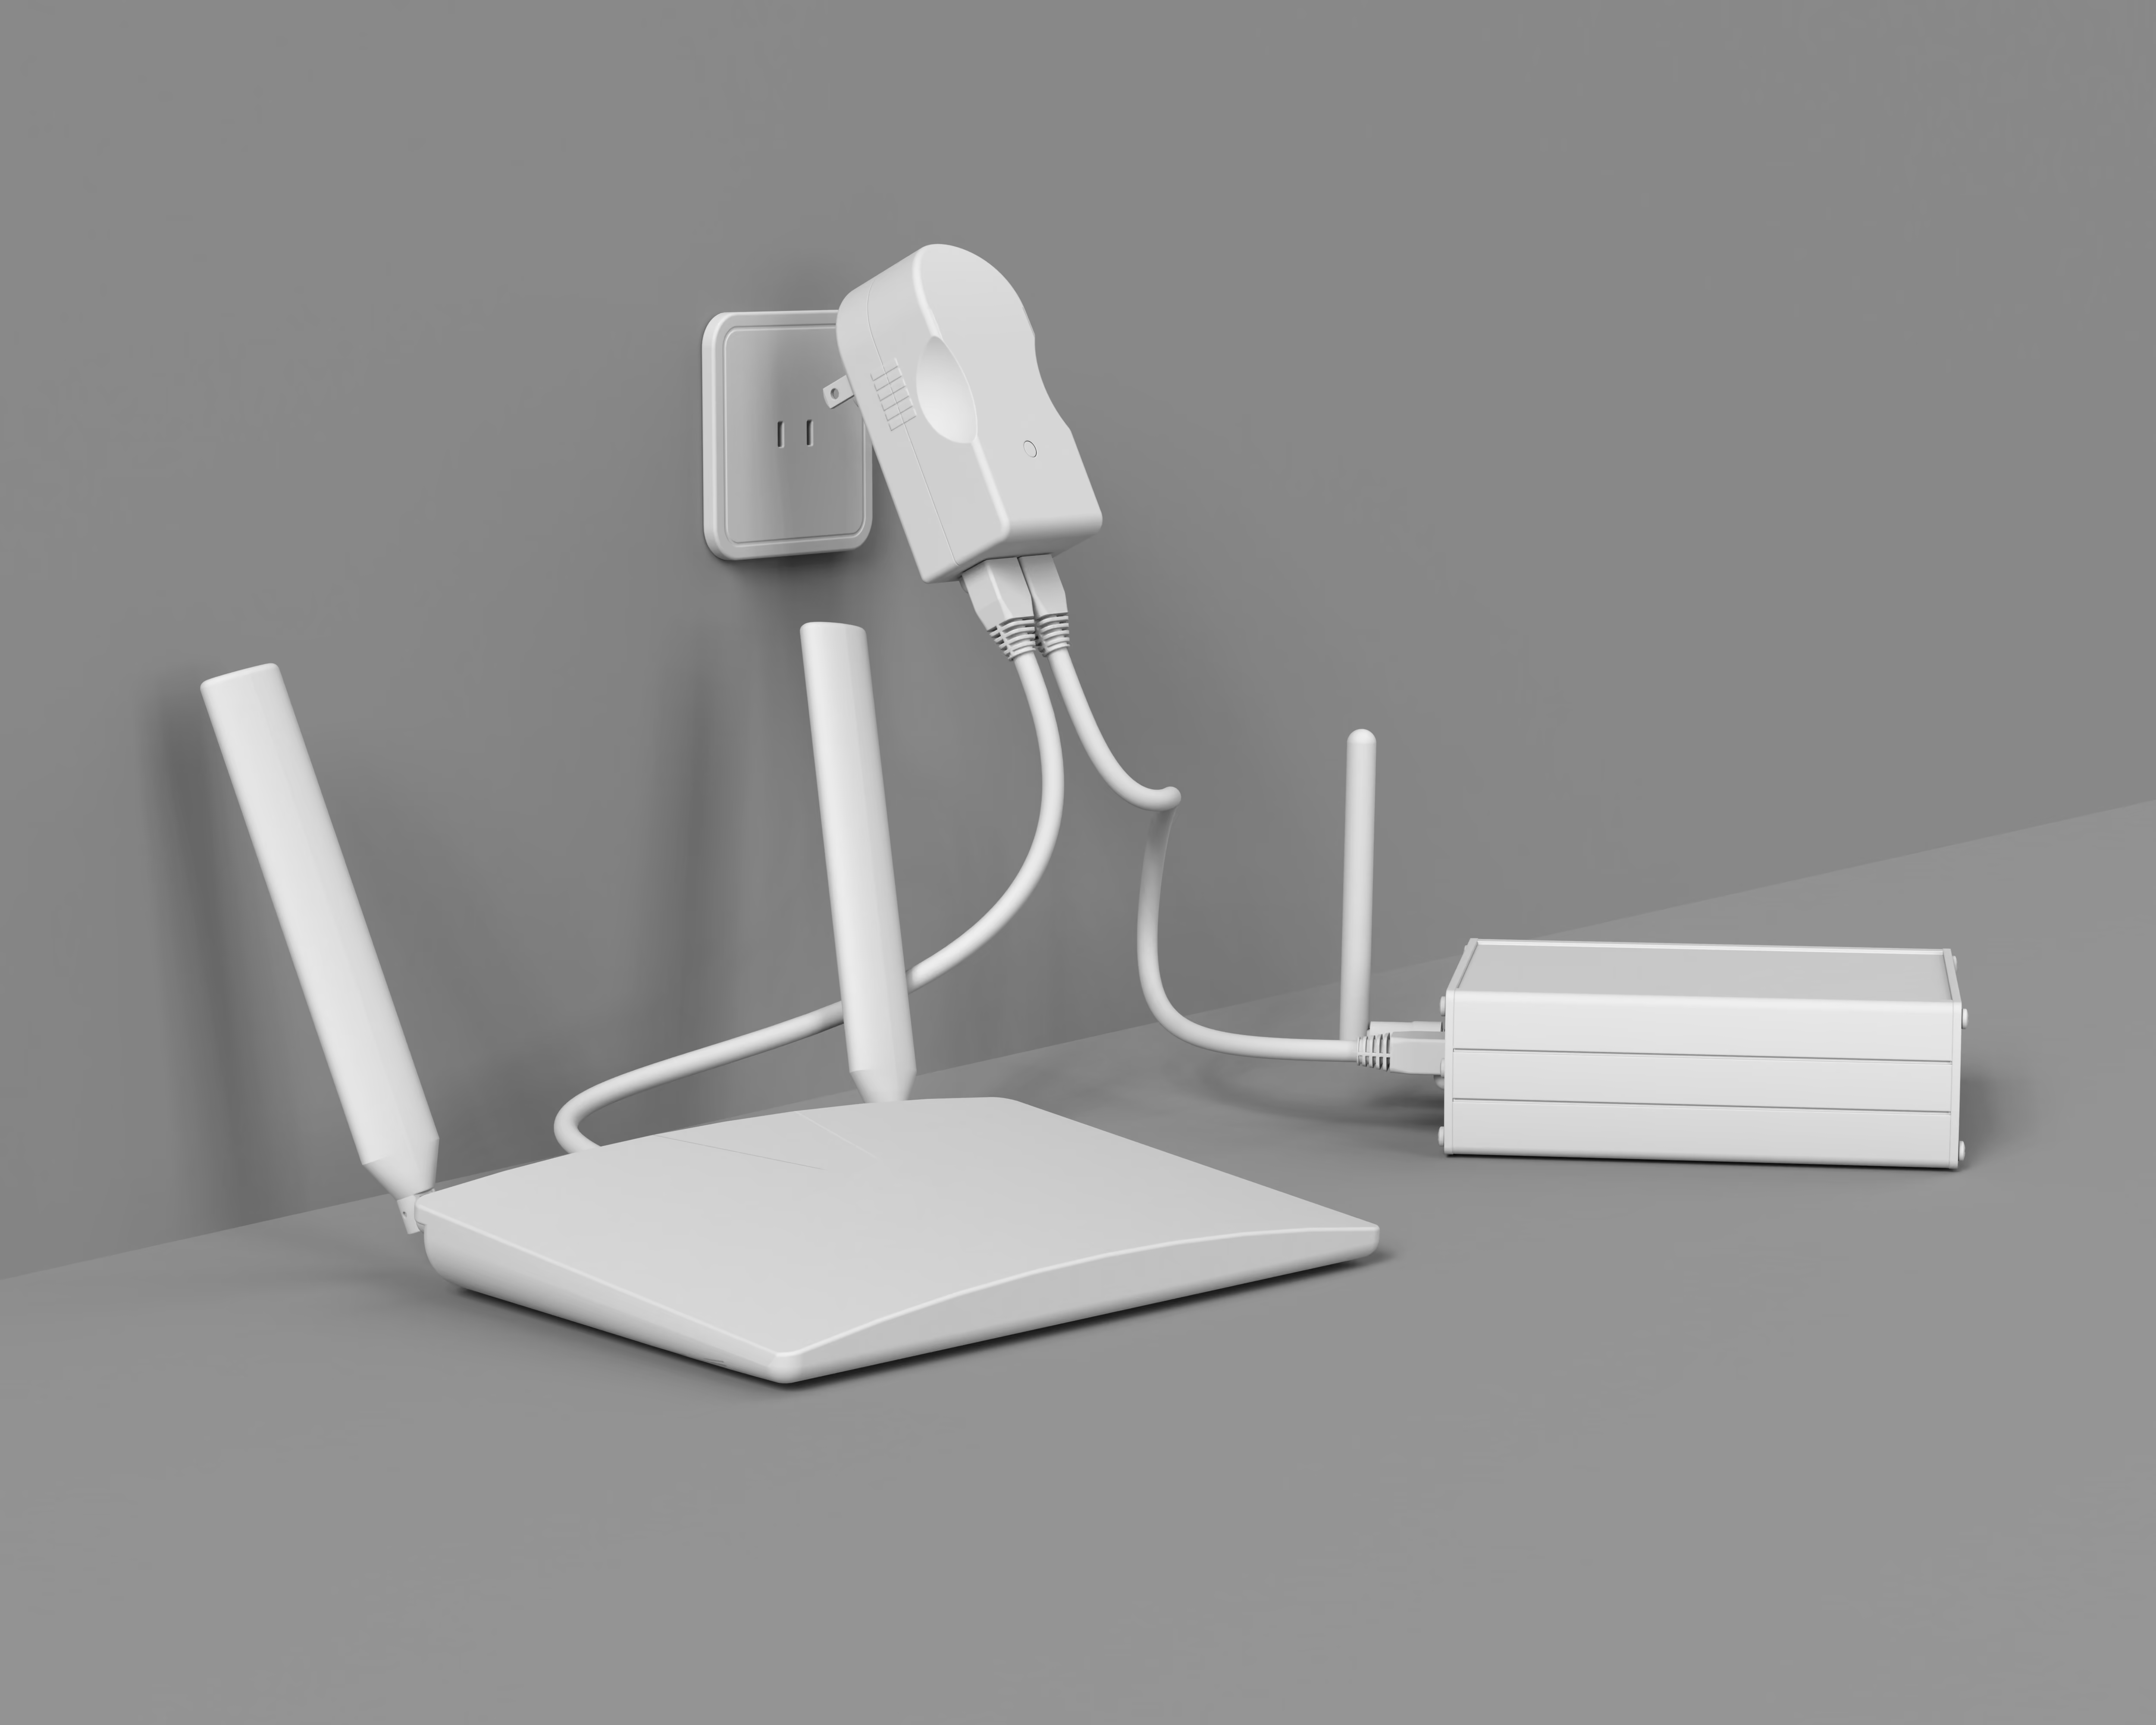
- Plug Router into “Data In/LAN” on Provided PoE wall plug.
- Plug Gateway into “PoE/Power Out” on Provided PoE wall plug.
- Plug PoE plug into wall 110V outlet
- Wait 5 minutes while the Gateway connects to the internet.
- Check if Gateway is online by looking for a blinking yellow light on top of the Gateway.
Tip: Plug Gateway directly to router if it supports PoE
Login to the AROYA app
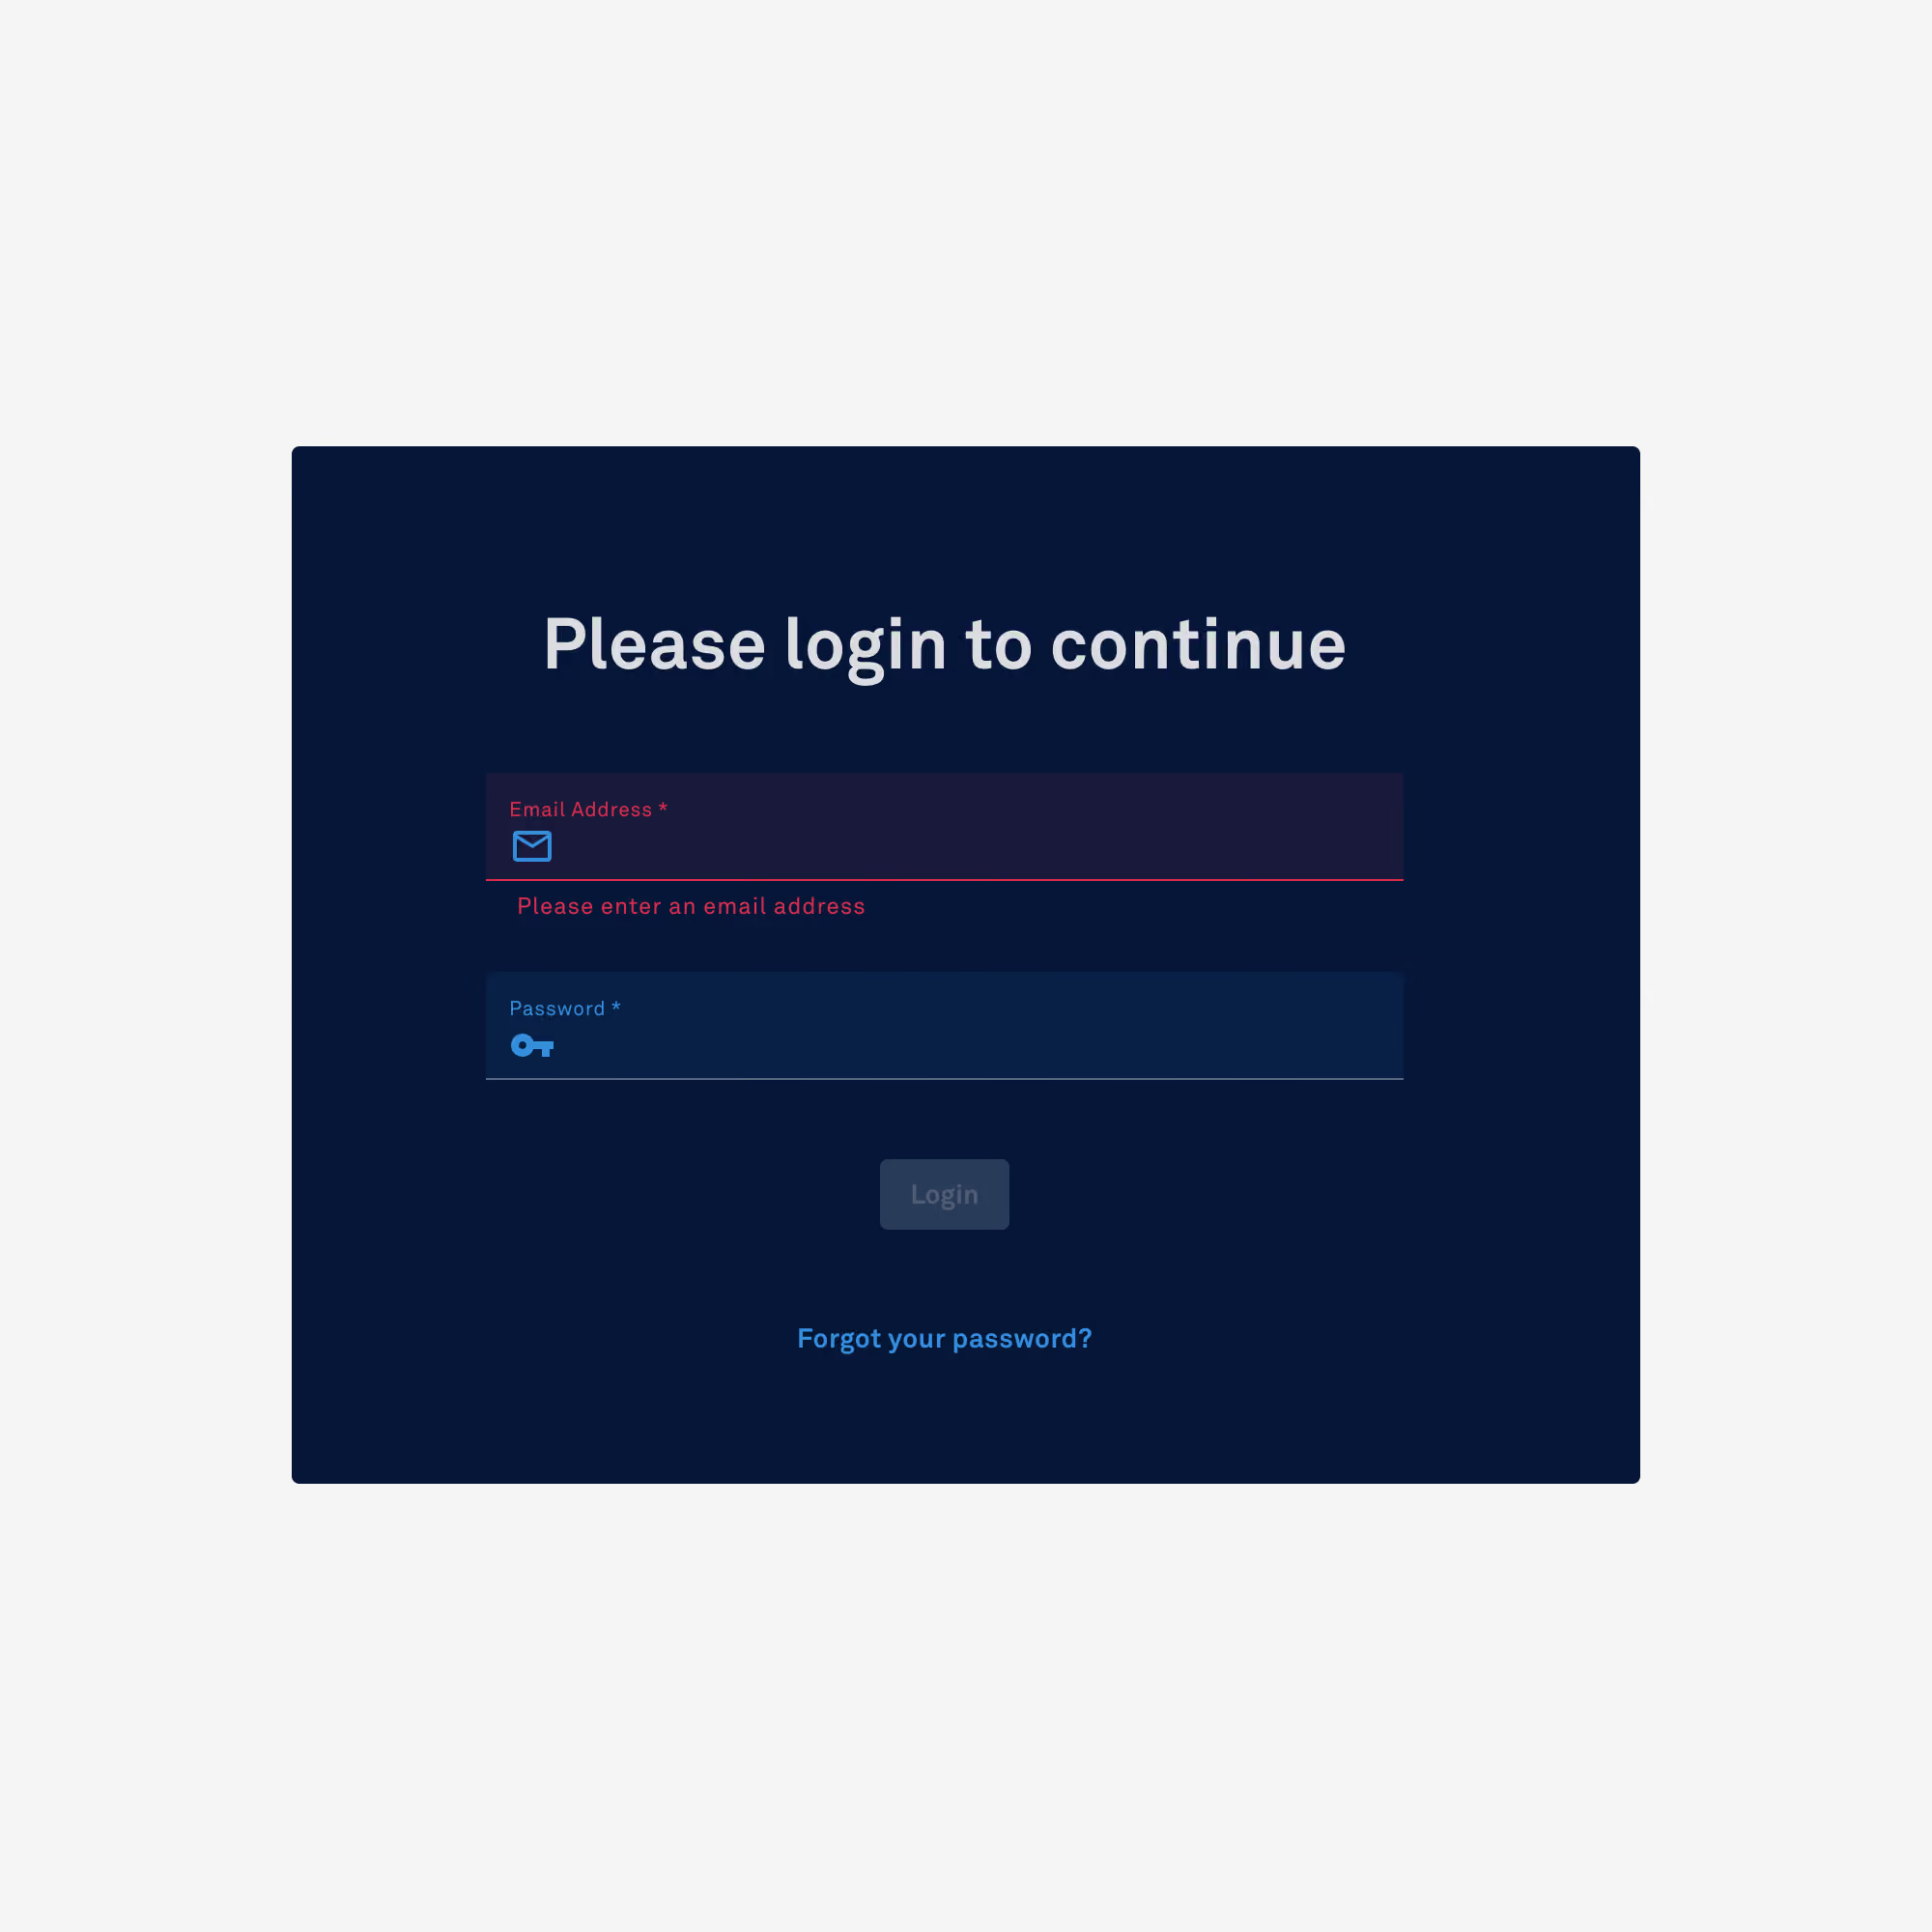
- Navigate to app.aroya.io
- Login to AROYA
Tip: Email invite sent to you upon purchase of hardware
Check if devices have already been activated
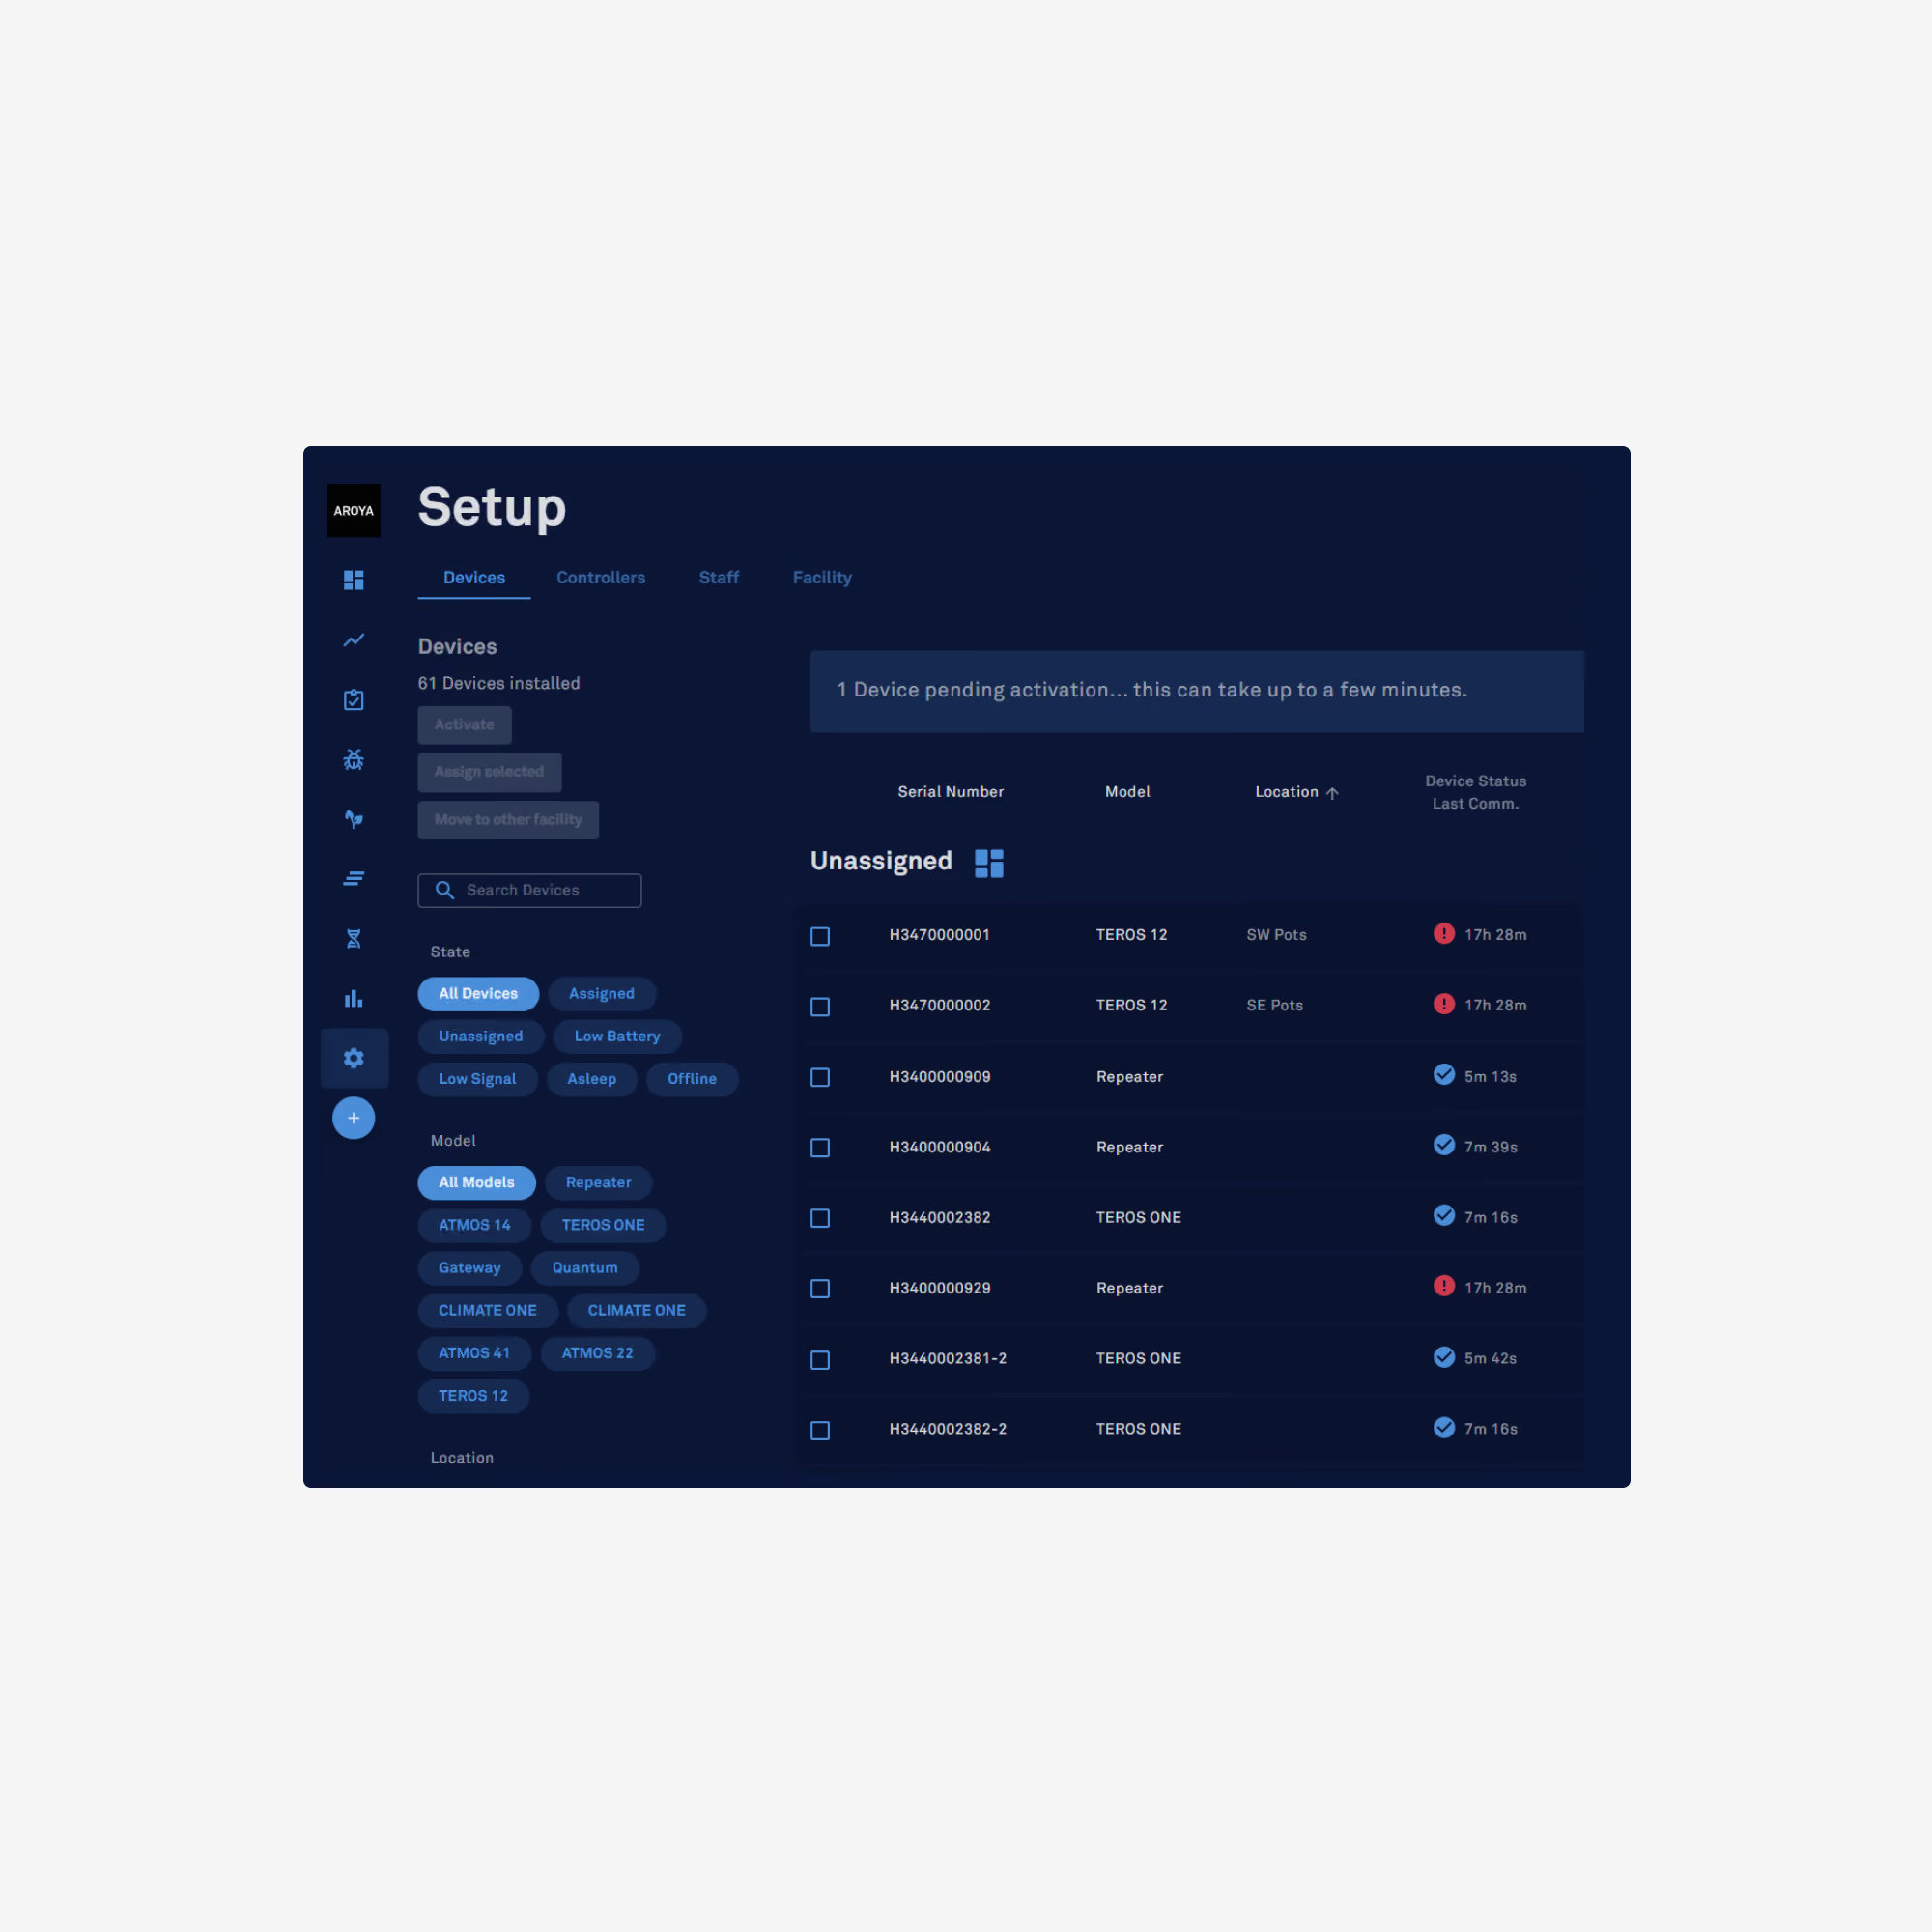
For large orders, chances are your devices have been pre-activated. In this case, please proceed to guide "How to Create and Edit Rooms and Zones".
- Click the Gear Icon for Setup
- In the menu, click “Devices”
- Check to see if the list of devices is populated with your new devices.
- If No: Please proceed to the next step below
- If Yes: Please proceed to guide "How to Create and Edit Rooms and Zones"
Activate Gateway in AROYA
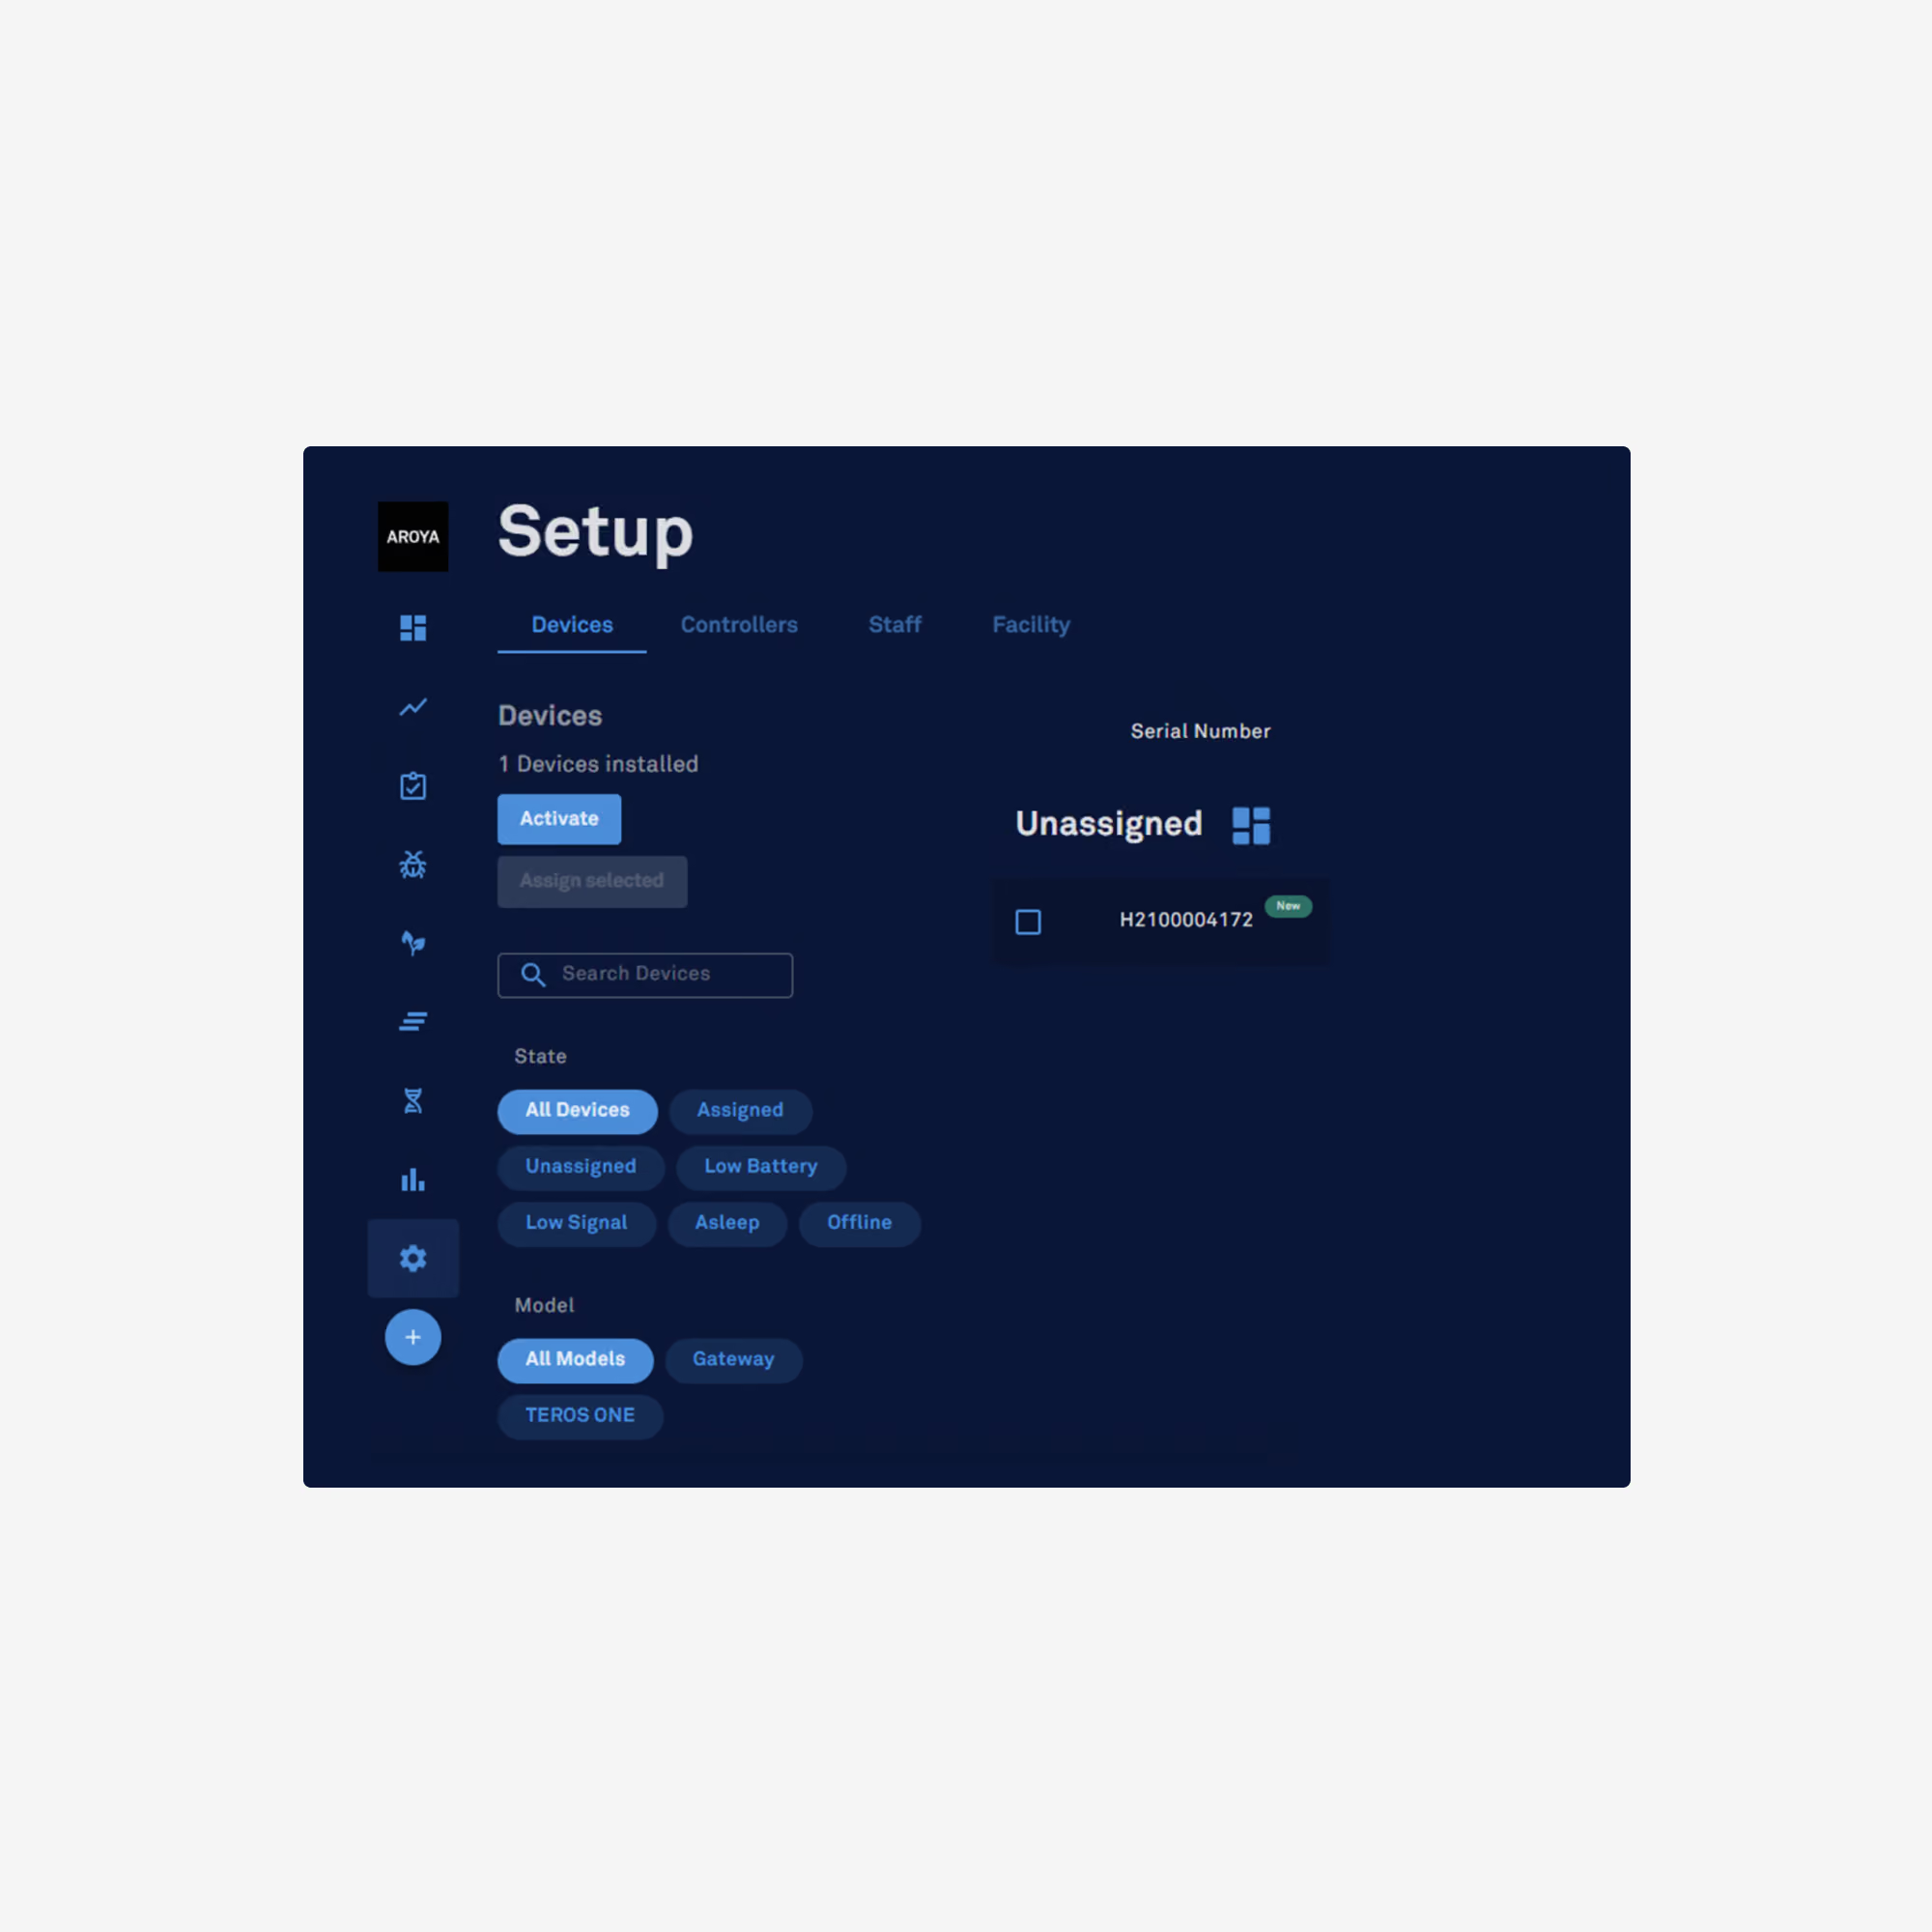
- Click the Gear Icon for Setup
- Click “Activate"
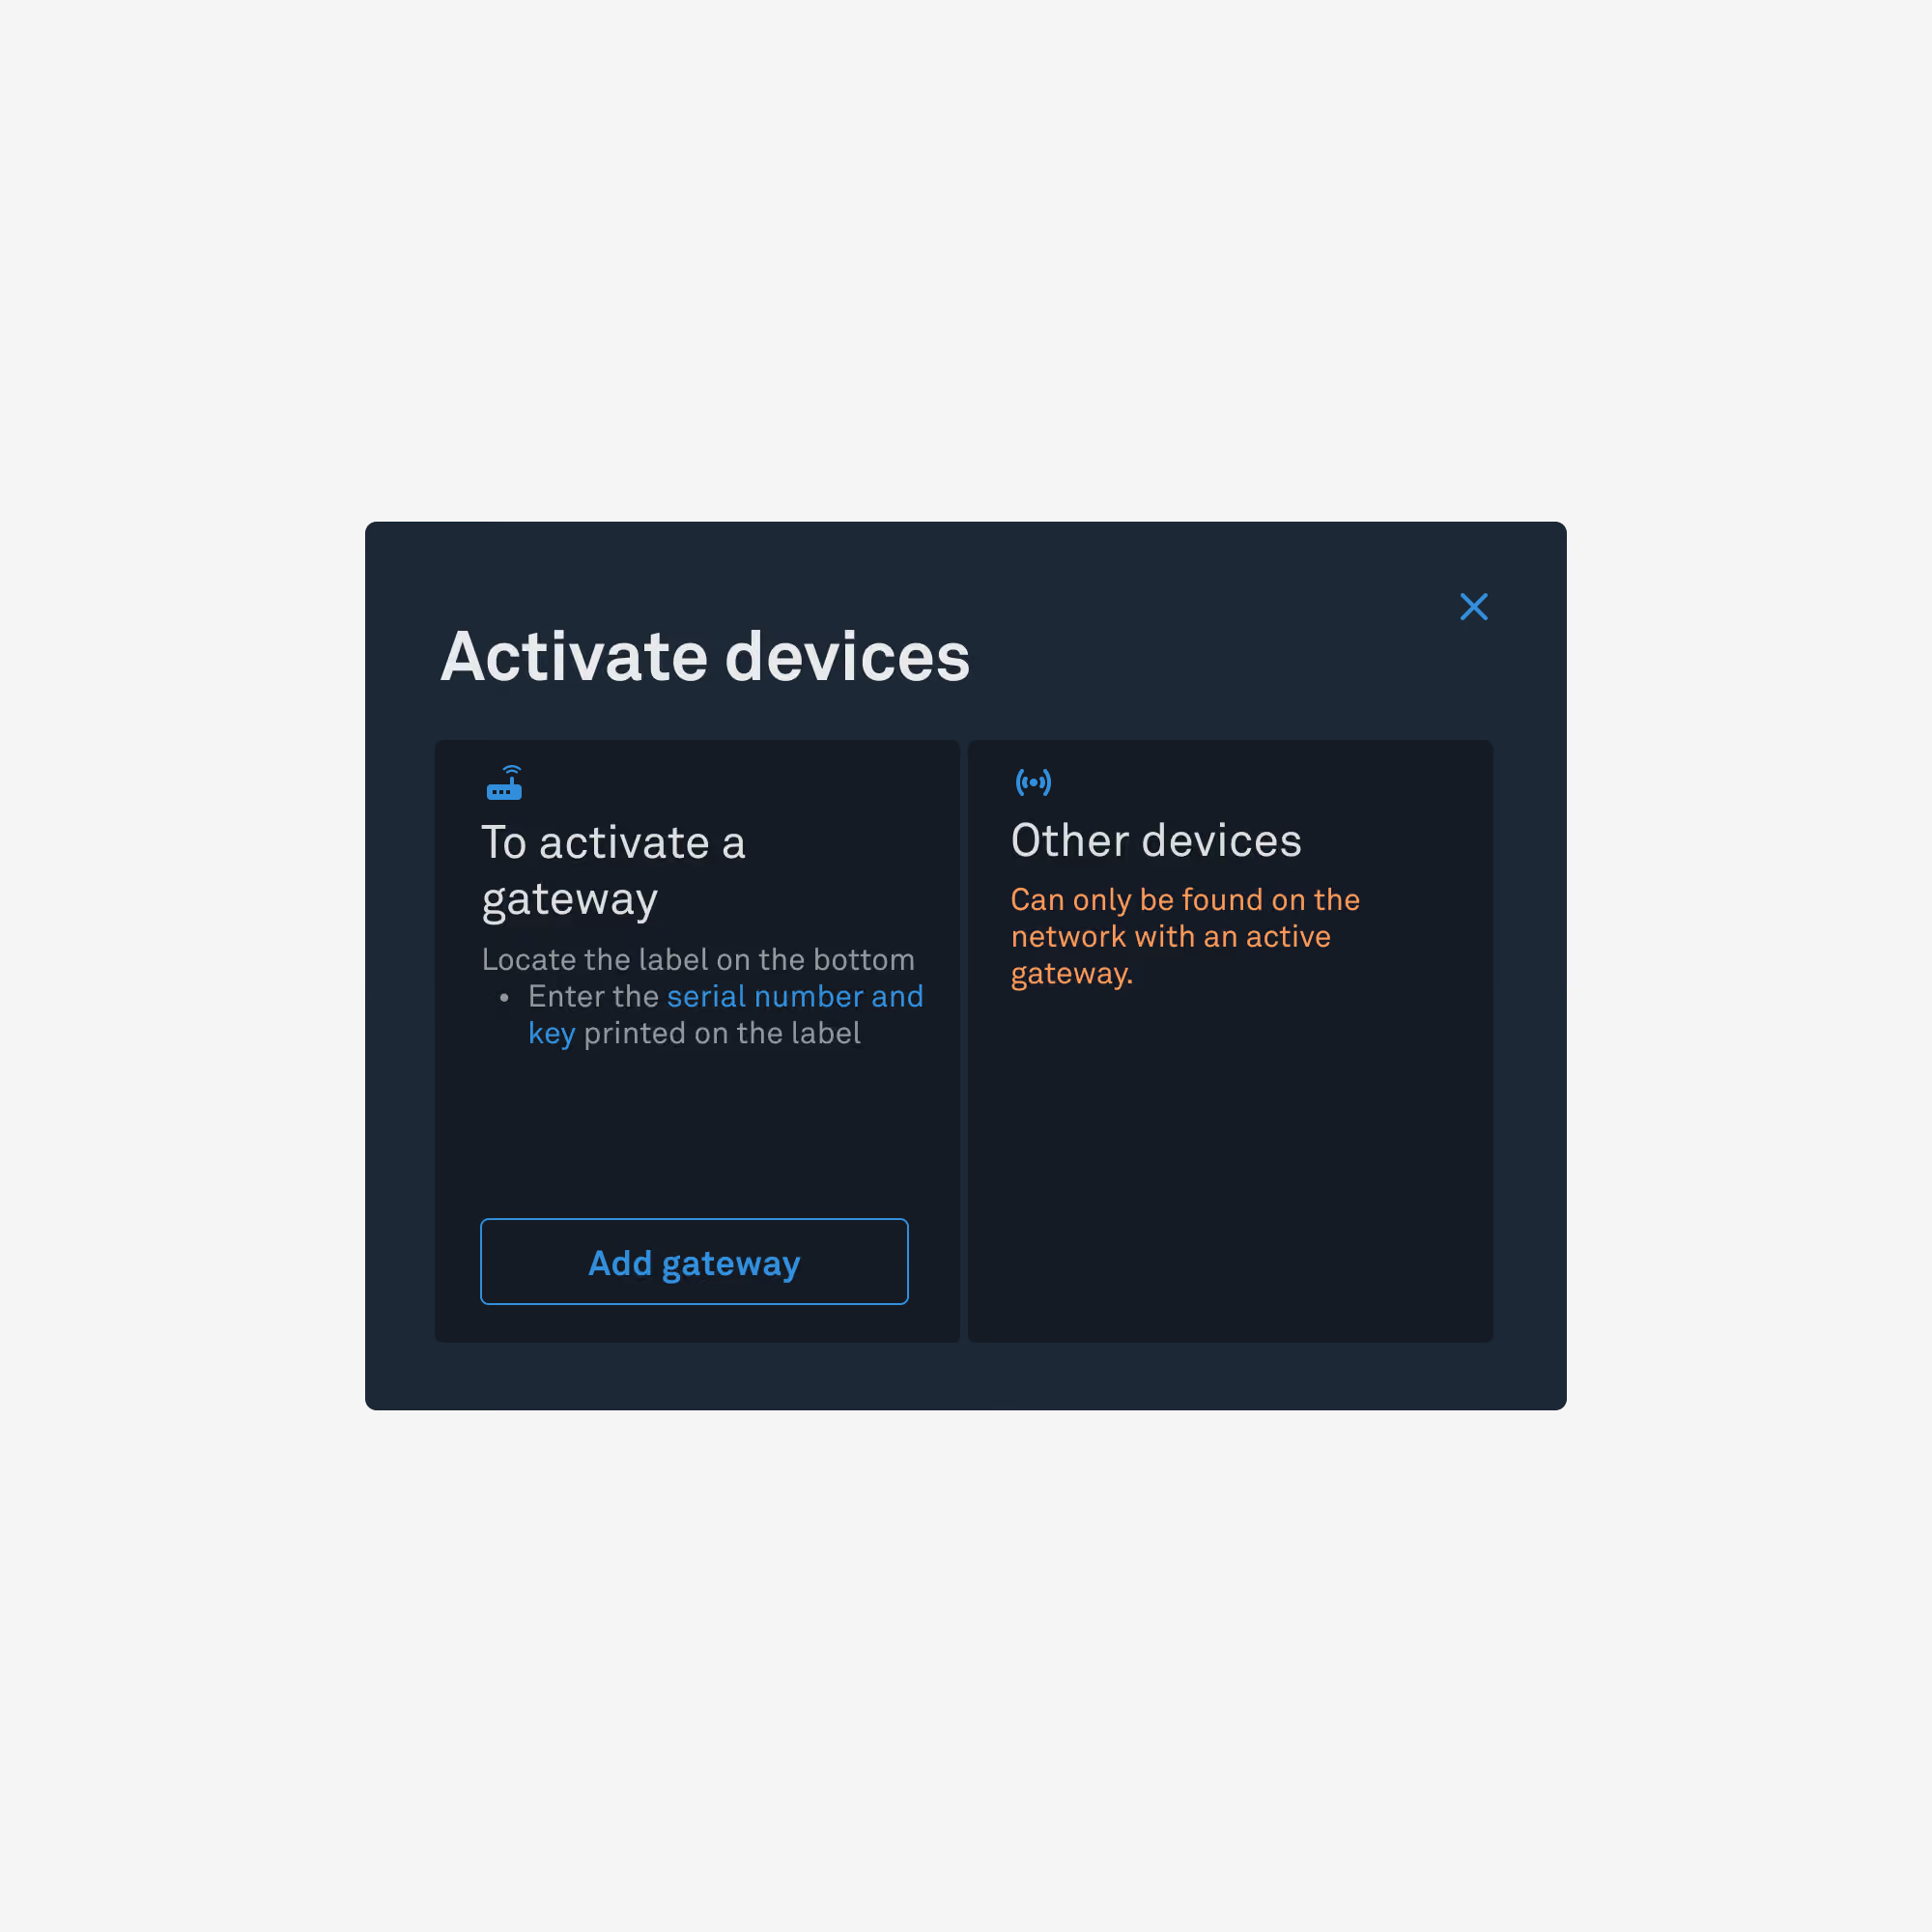
- Click “Add Gateway” and follow instructions on screen
Activate sensors
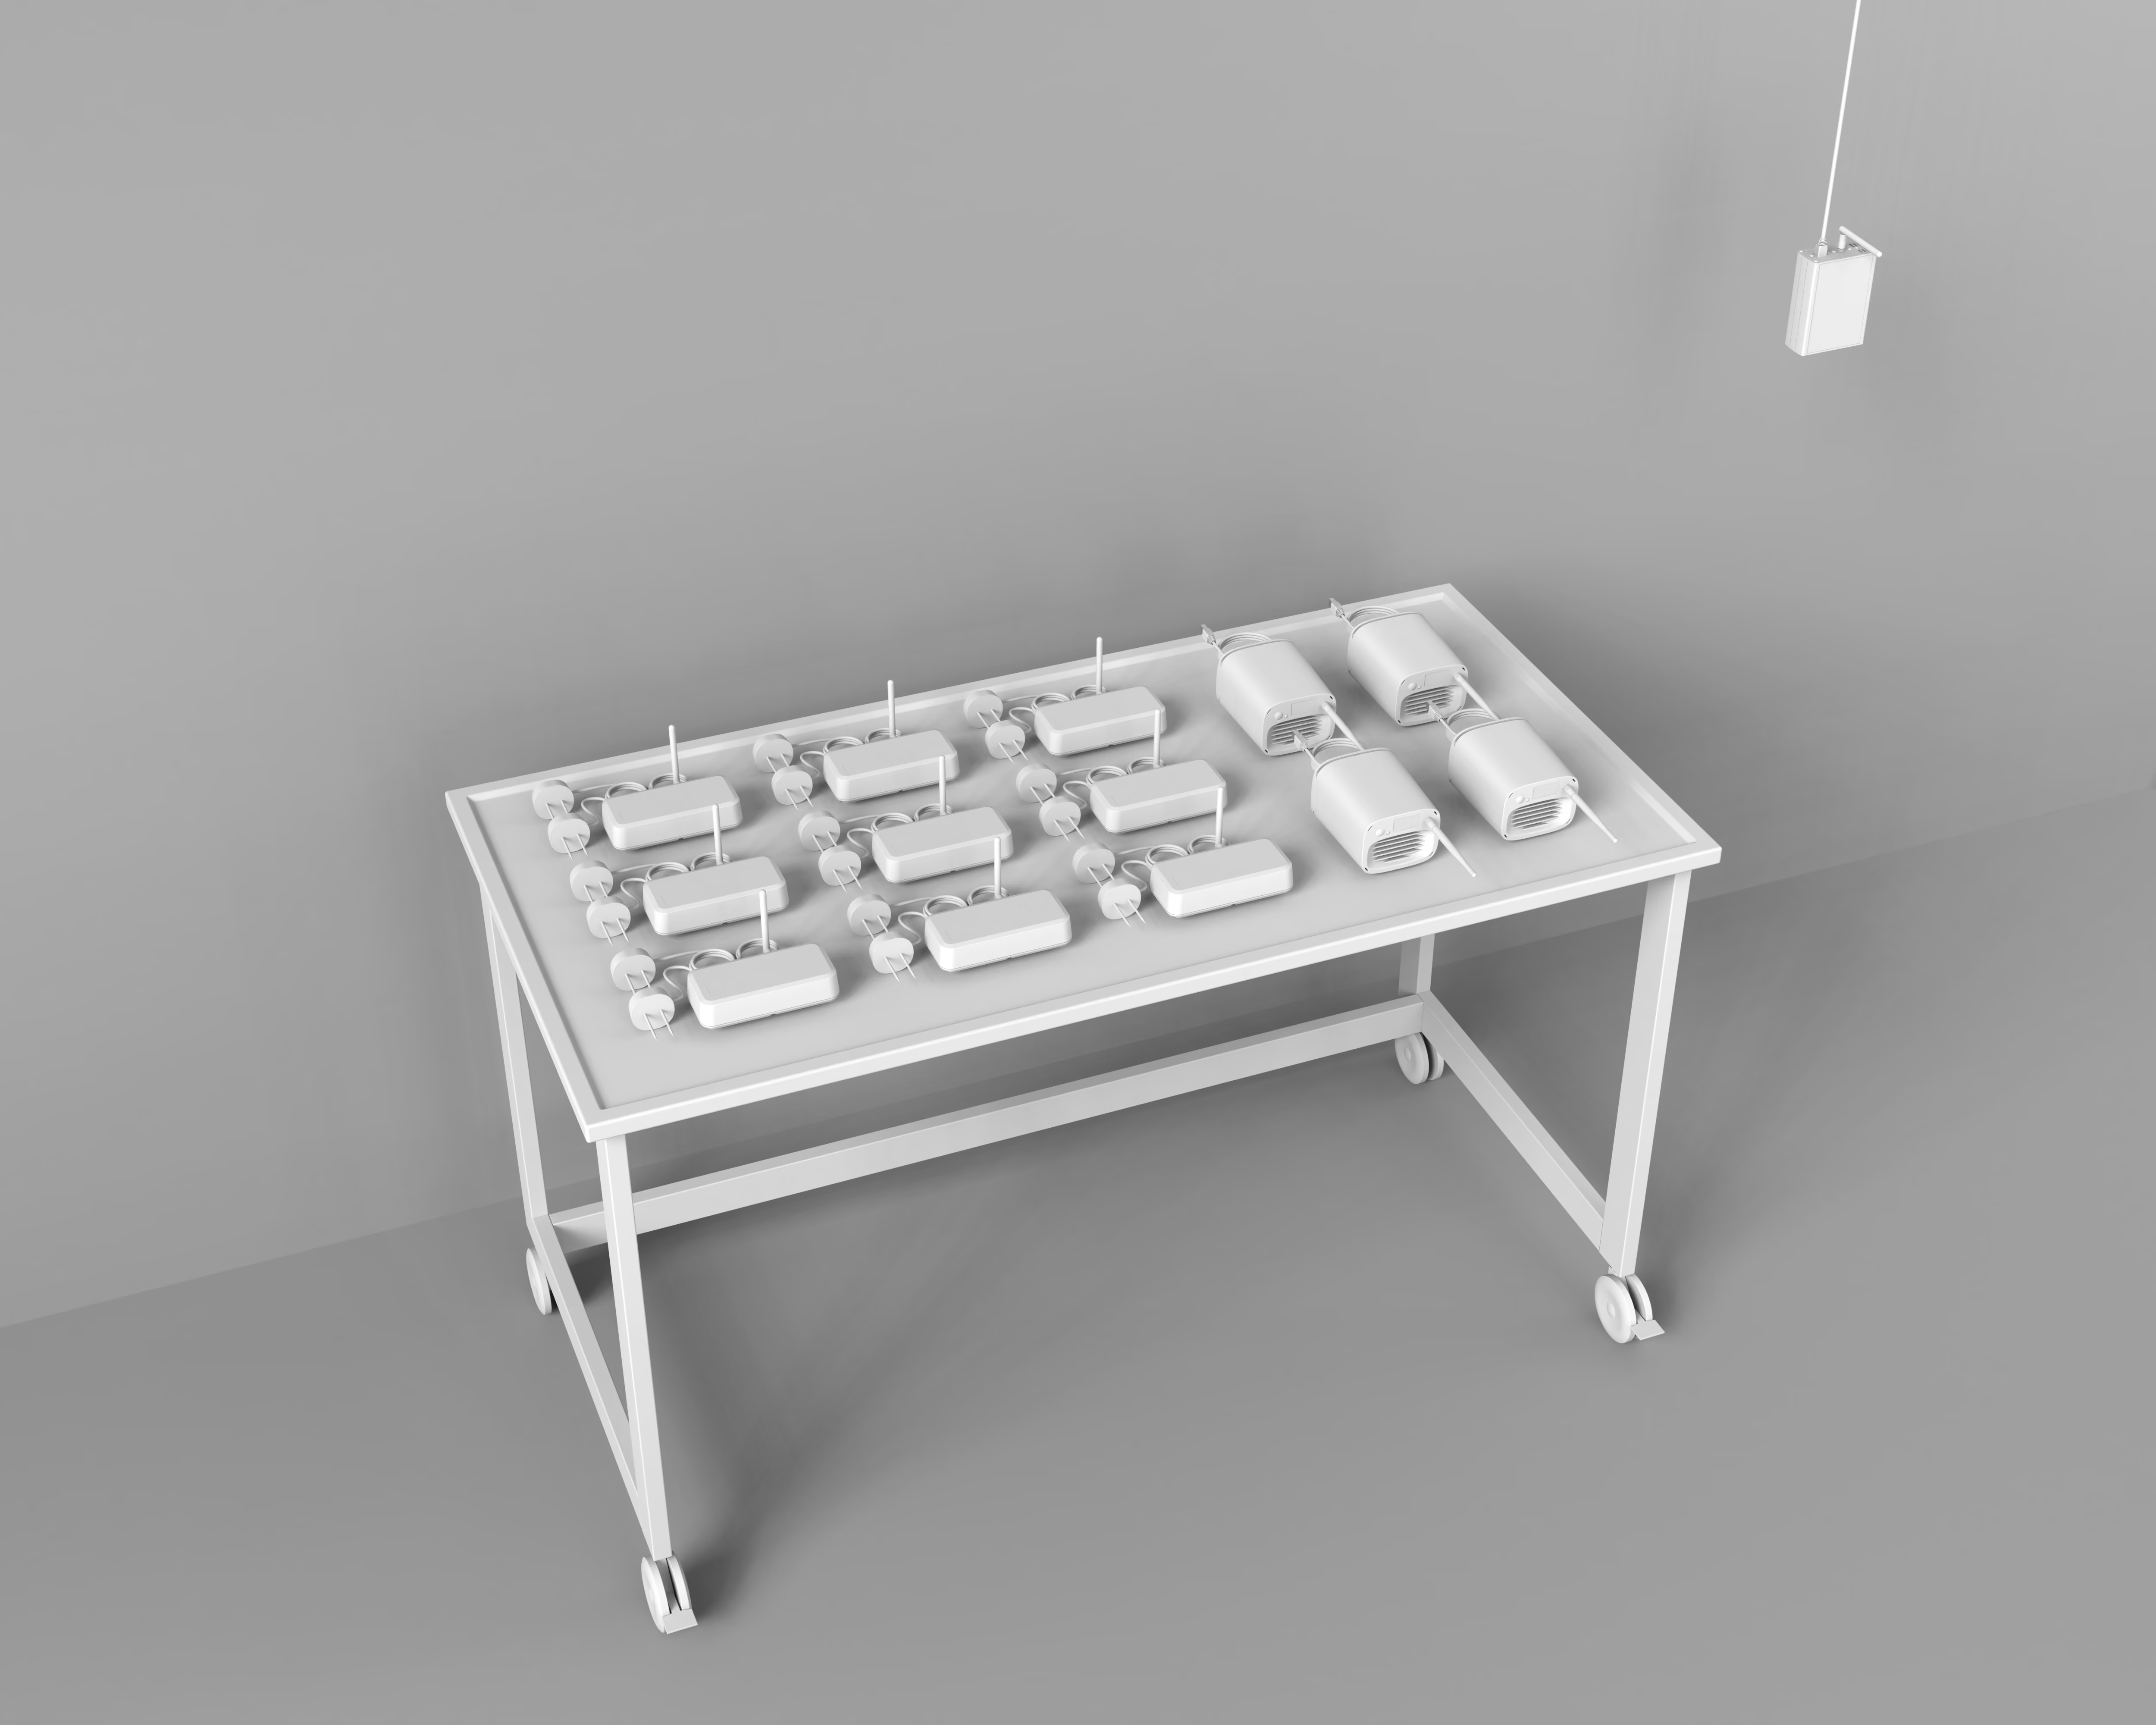
Once your Gateway is active, you can activate your climate stations and substrate sensors.
Need to install your Gateway first? Read the Gateway install guide.