Install Guide
Quantum Sensor
Goal: Successful installation of the Quantum Sensor
This guide will lead you through the setup process of the Quantum Sensor.
Pre-Requisite: Activate Devices
Make sure the device is activated. Check out the "How to Activate New Devices" guide for more information.
Step 01
Remove cap from sensor
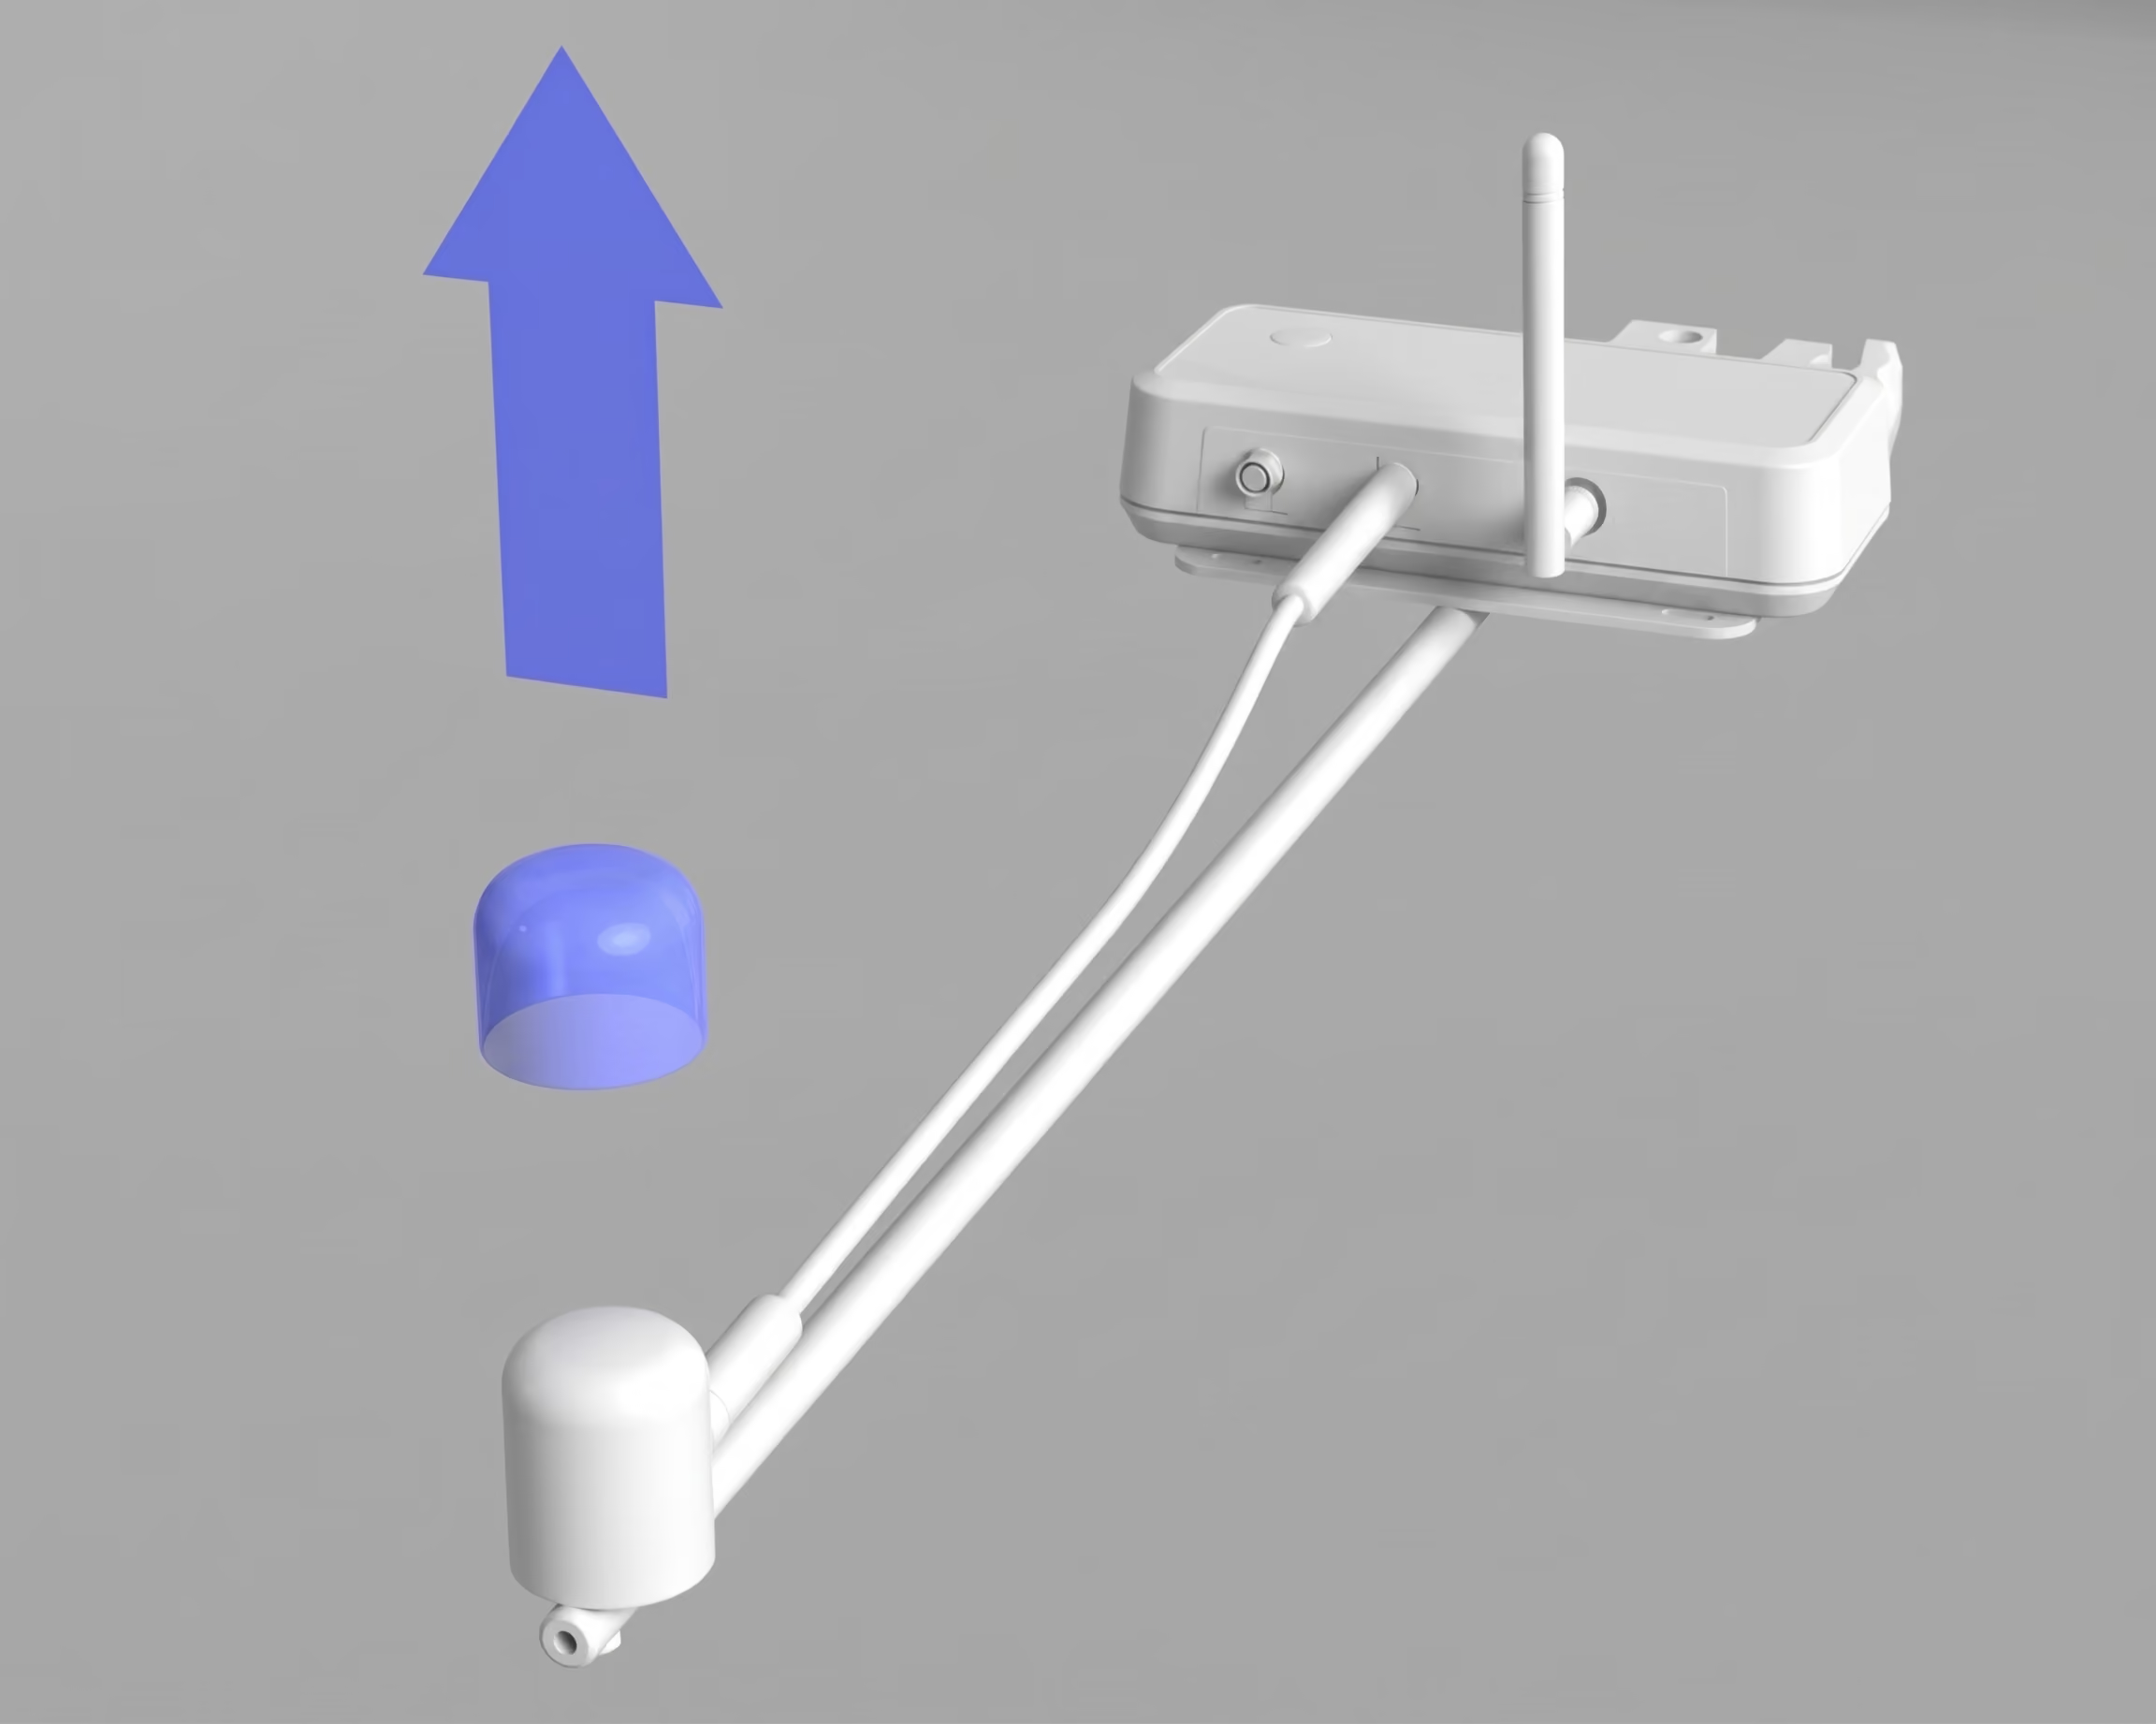
Remove the protective cap from the sensor.
Step 02
Turn on device
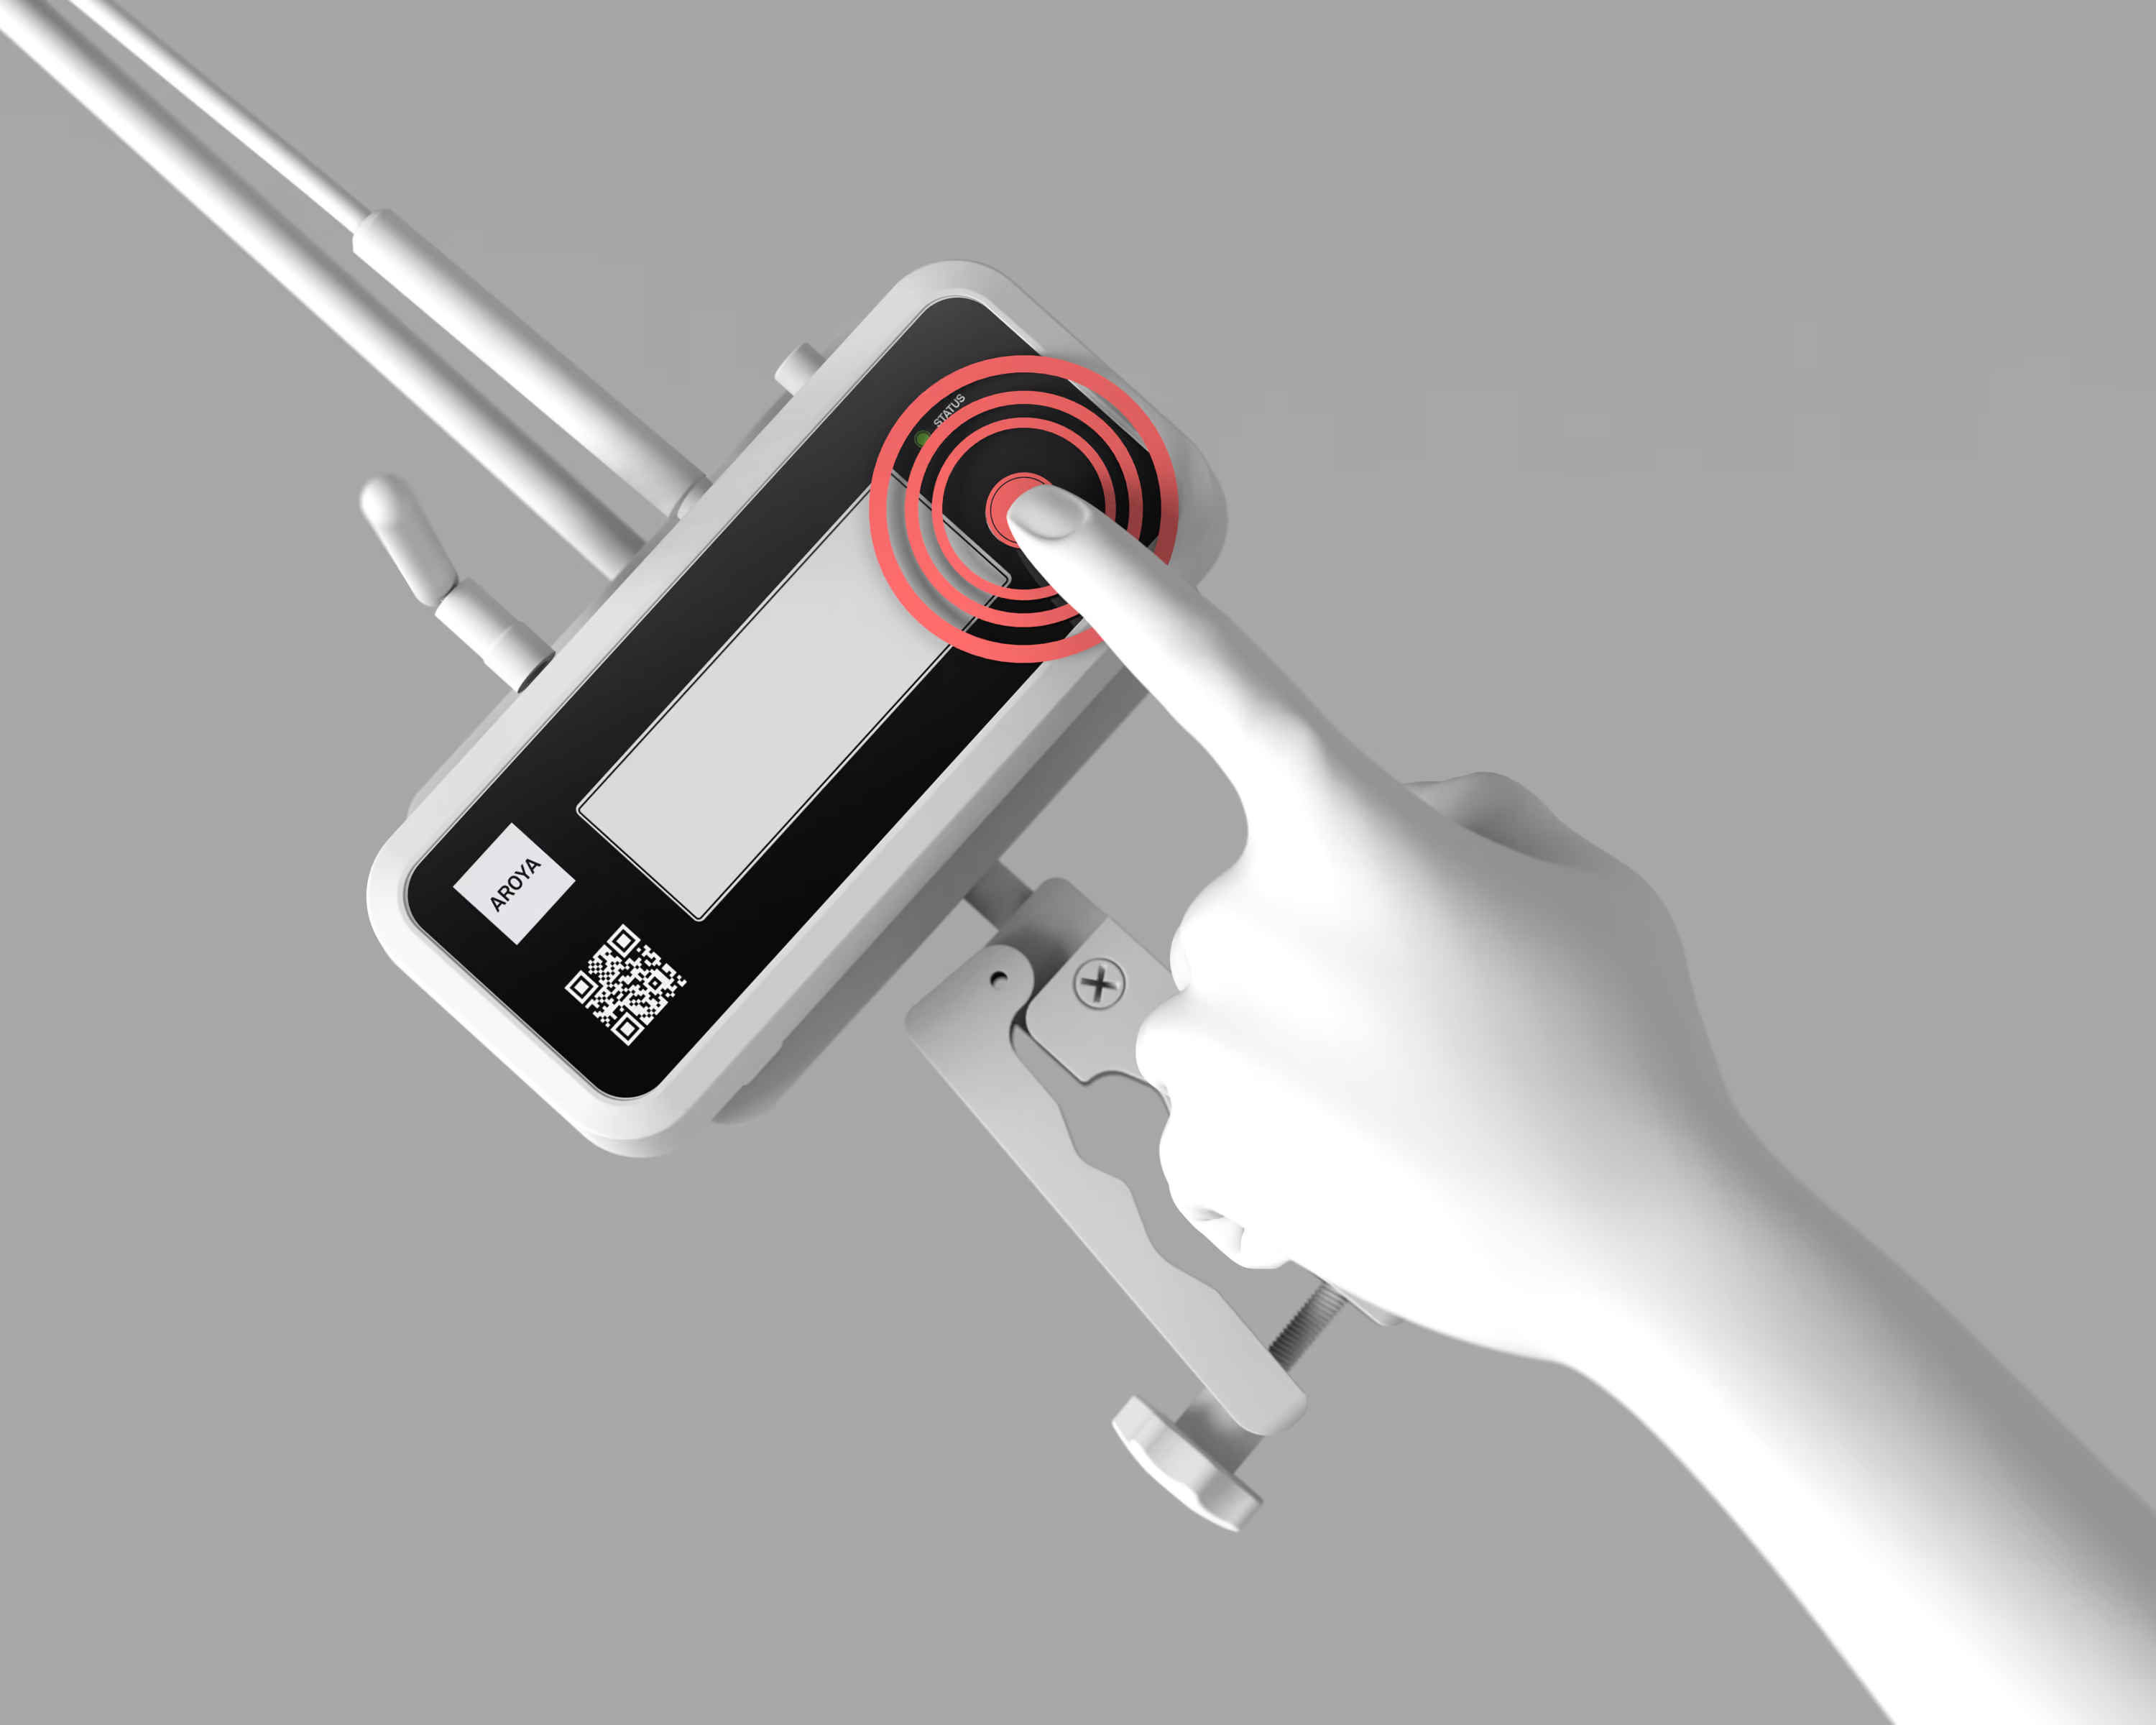
Press the button repeatedly until a green LED blinks. The device is now ON.
Step 03
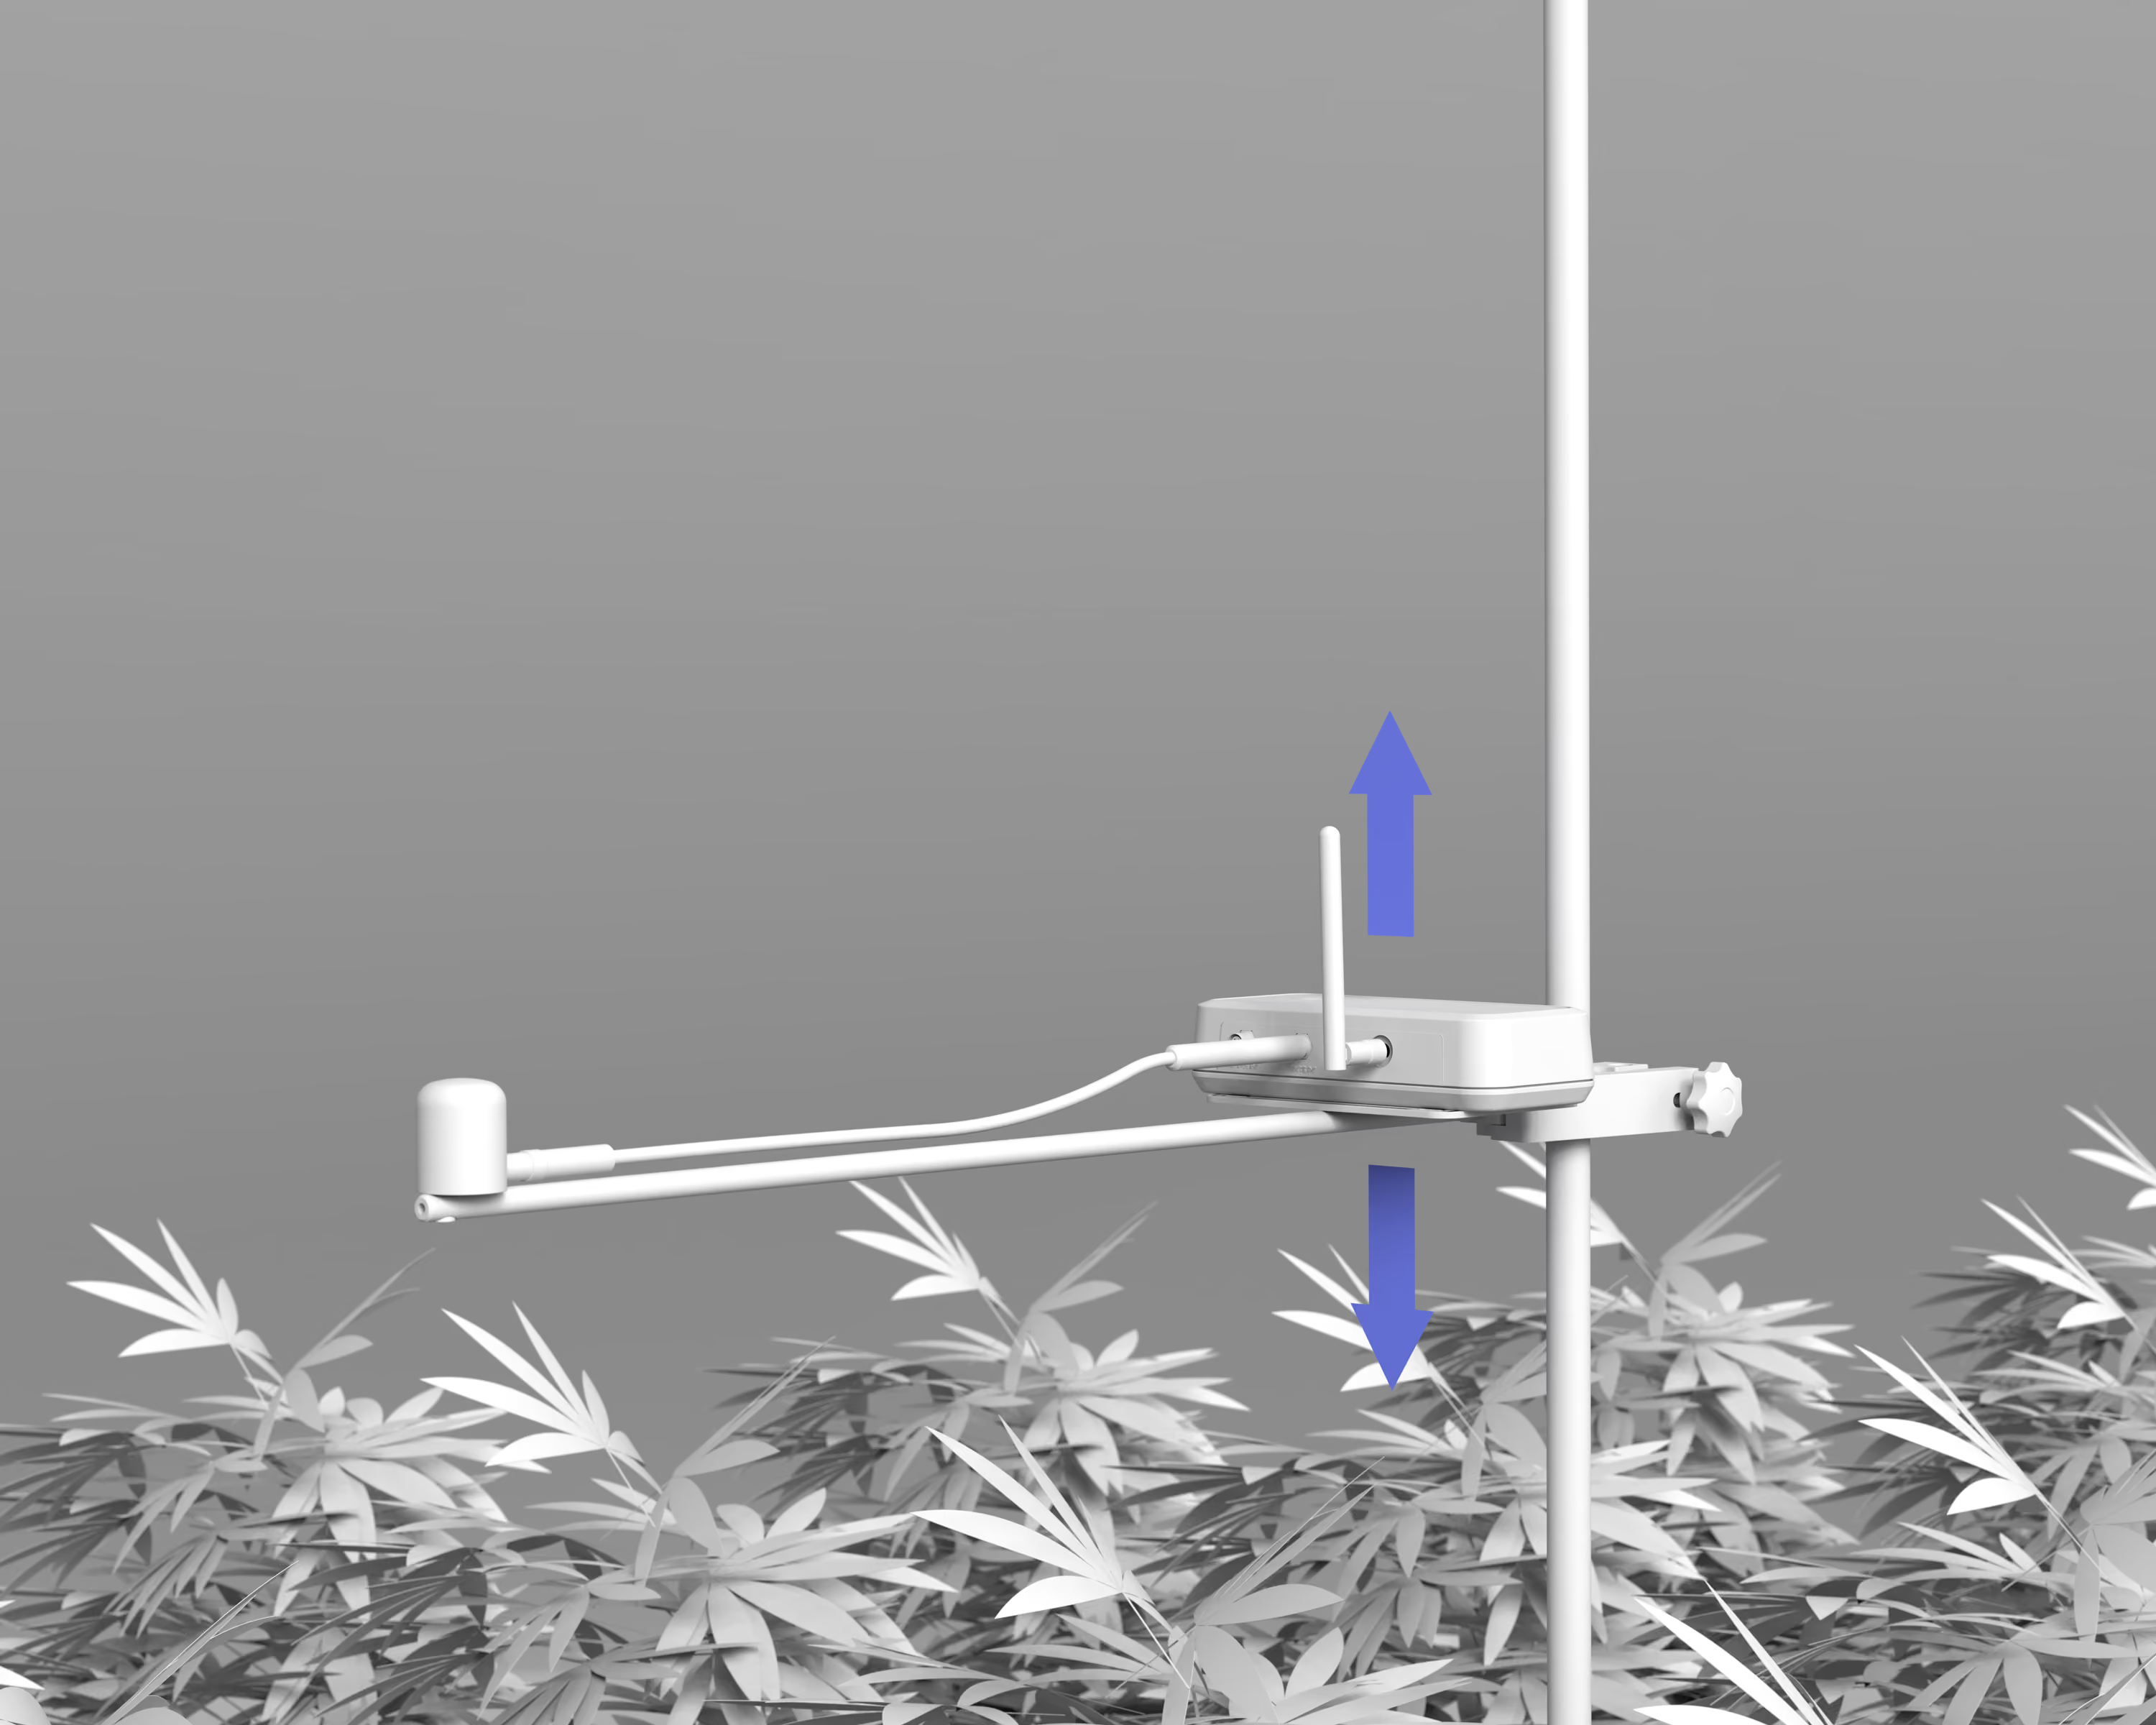
Install sensor above canopy
Attach the arm to a vertical rod/beam that’s no more than 3/4” in outer diameter, then adjust the sensor location to just above the canopy.
Step 04
Assign devices
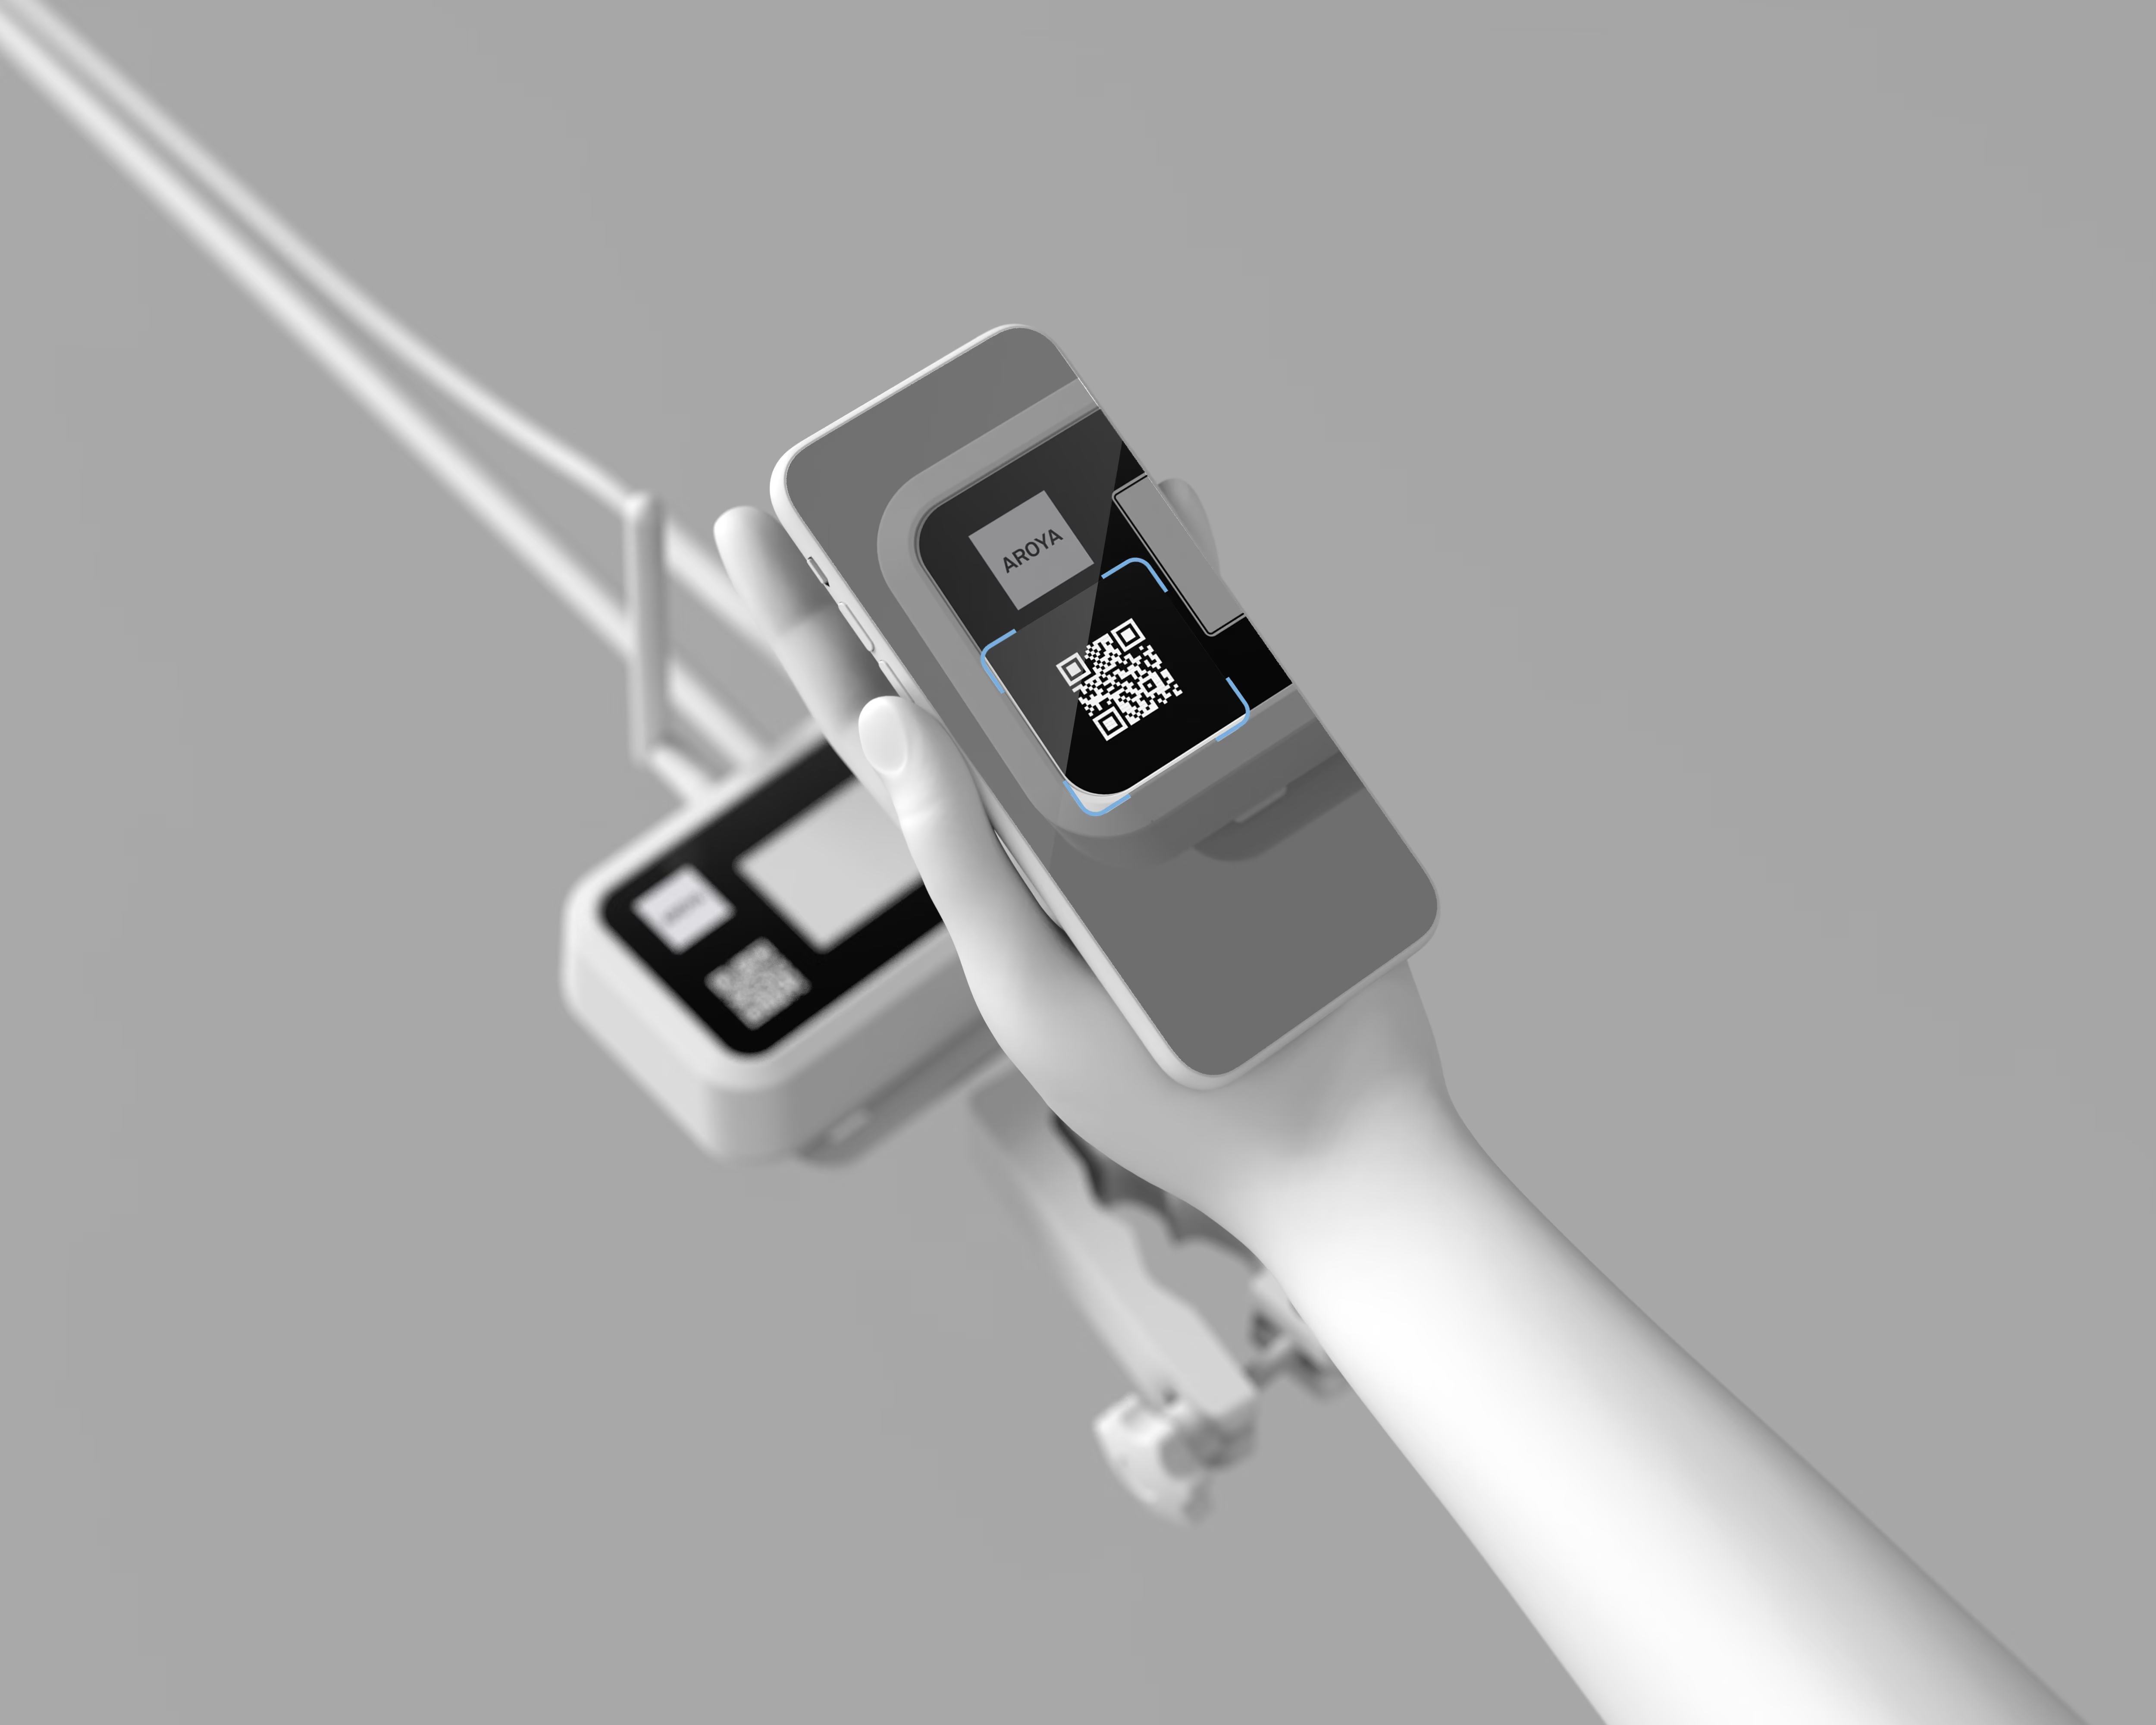
Assign the Quantum Sensor in AROYA to start recording data. See guide "How to Assign & Install Sensors" for guidance.
Important
Use the AROYA mobile app to scan the device and assign it to the desired location.